In this post
Intro
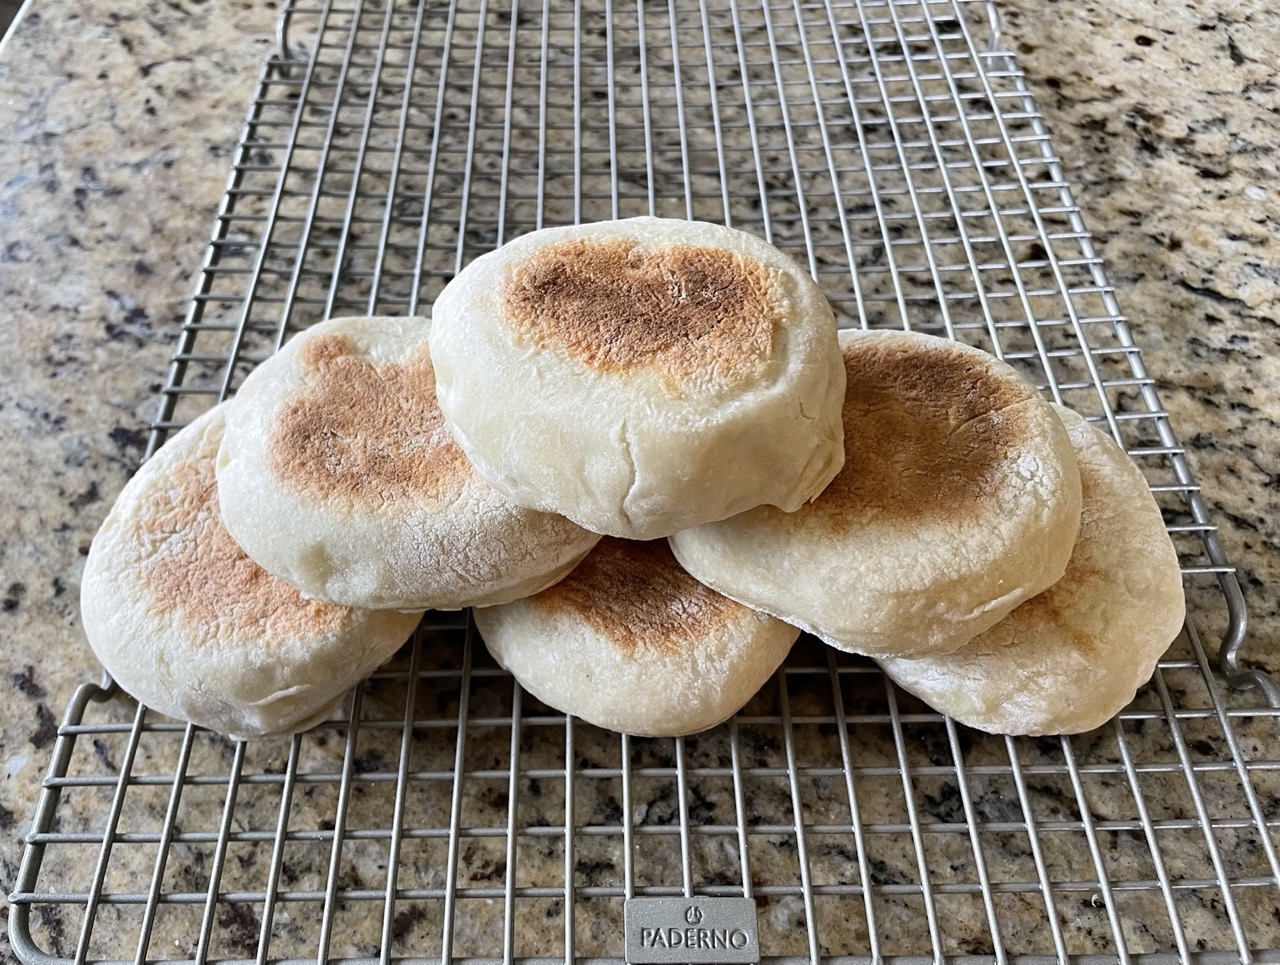
Hello! This week I tried making English muffins. I love English muffins because they pair great with morning eggs and they taste so darn good, but of course, I do not want to buy them so let’s get into how easy (but time-consuming) it is to make them at home!
Recipe
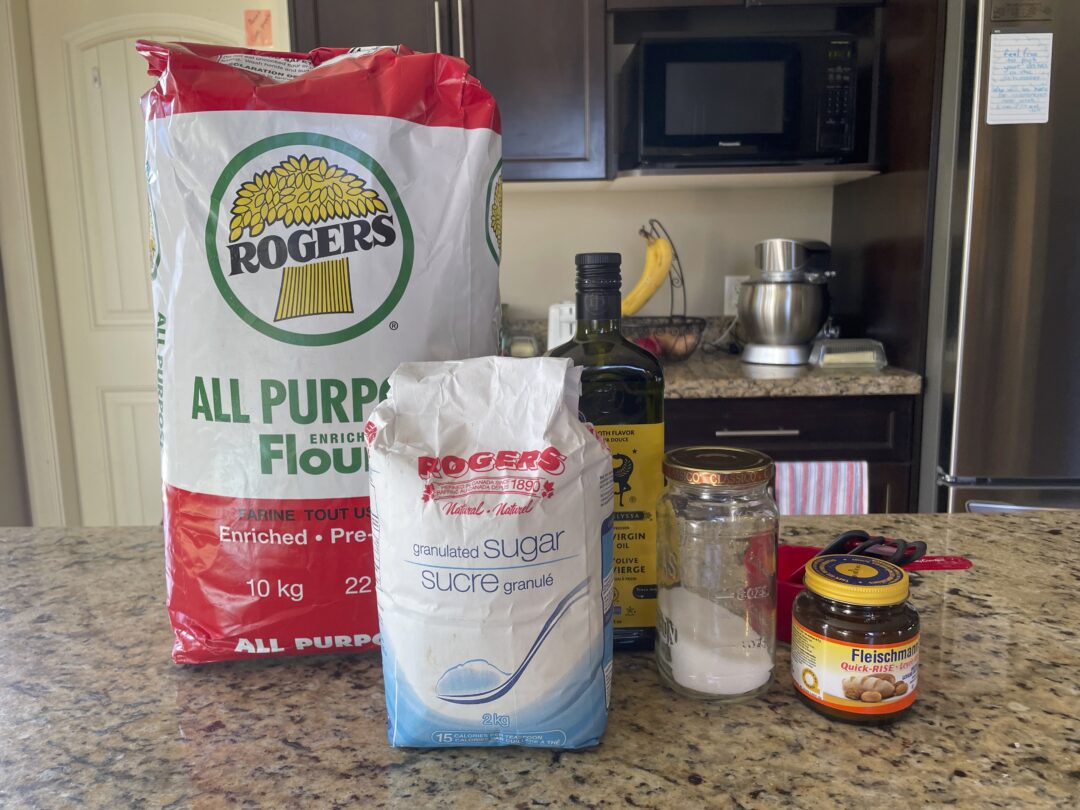
The recipe I chose for the English muffins was from bigger bolder baking. One of the first mistakes I made with the English muffins was with the recipe. I walked into this recipe completely blind, which I deeply regret because I realized after I had already started that it asks you to let the bread rise overnight (approx 18 hours). Of course, with my busy and exhausting schedule, I started on Saturday morning. And so, that is precisely why this post is coming to you on Sunday!
The reason I missed the 18-hour rising time was that I let myself be fooled by the little visuals at the top of the recipe that tells you it’s “only 35 minutes total!” I really wish recipes like such would include the rising time as well as the true total time you will be spending. I never understood why recipes prank you! I suppose I have learned my lesson and promise my future self to thoroughly read through a recipe a day or two before executing it.
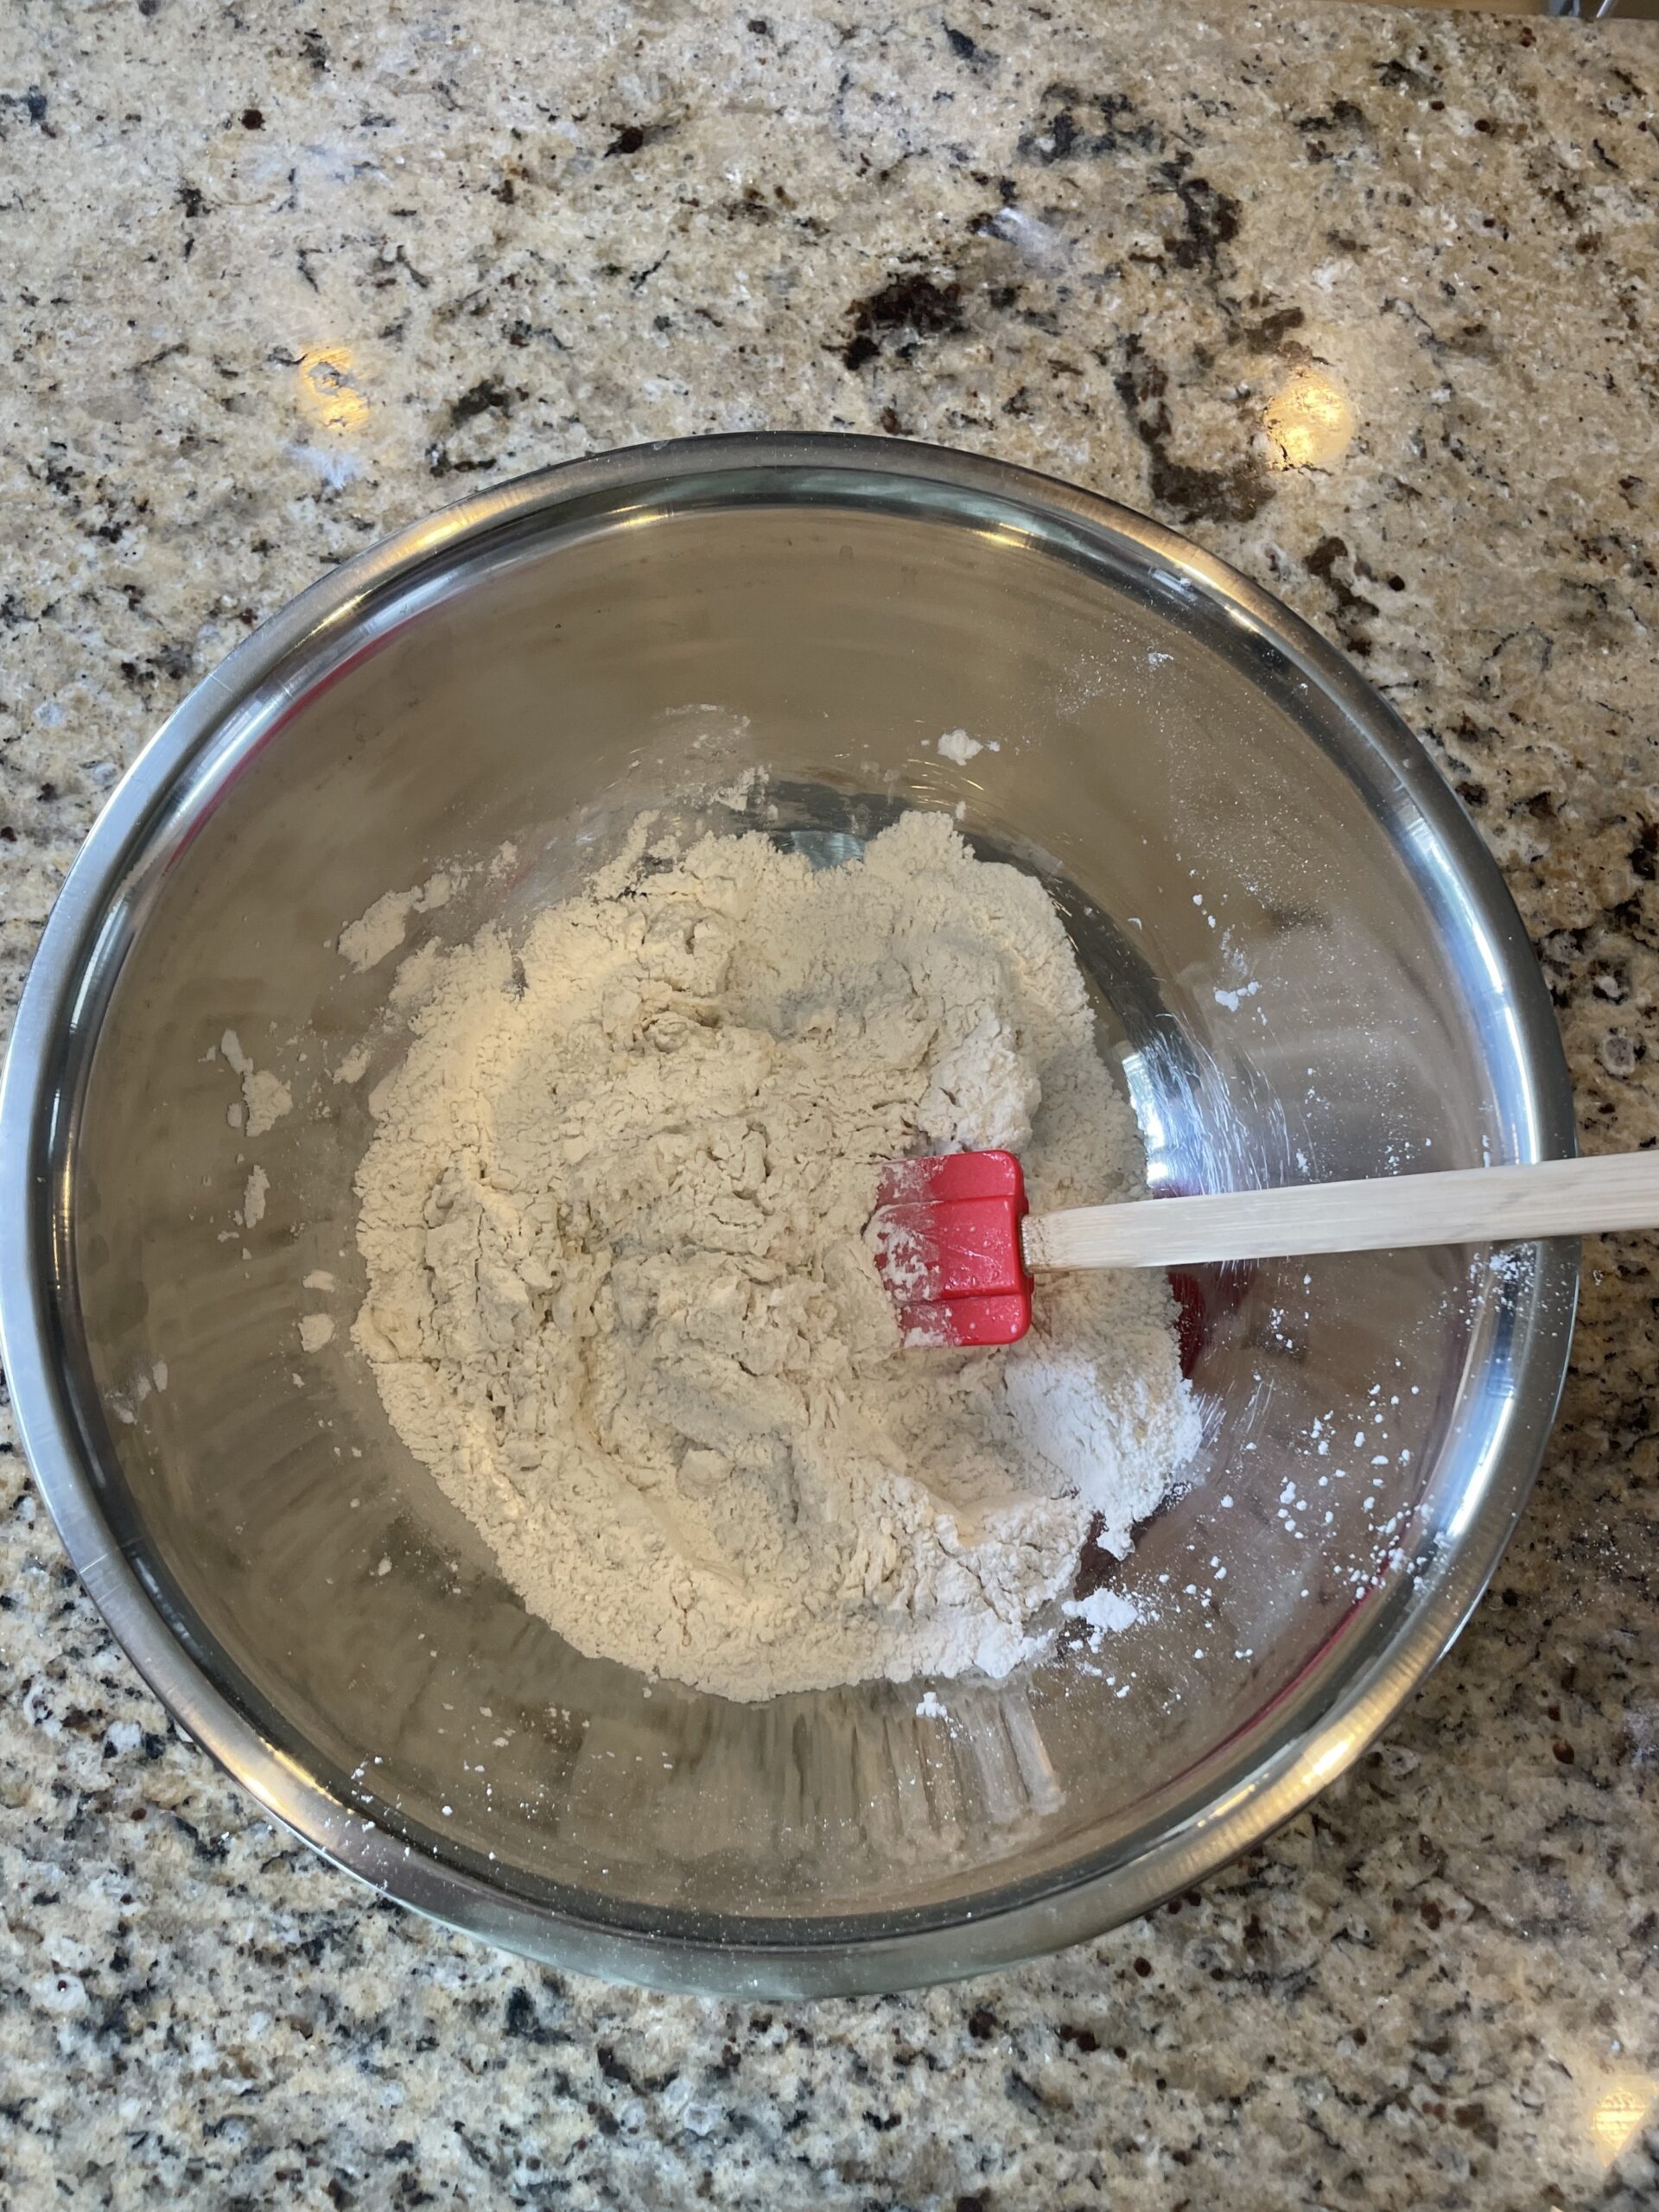
I do want to mention that this recipe was full of amazing tips and tricks. There was a video that was beyond helpful in showing me how to succeed, and it contained tips not included in the recipe, such as mixing in your yeast and salt separately because apparently yeast dies when salt is placed on top of it? Who would’ve thought?! I suppose this has also taught me to not ignore videos either, which I have been doing for the majority of this inquiry project. Alright, enough said, let’s shift from the recipe to what went well with the actual English muffins!
What Went Well?
You’ve already read enough in this blog post, so here’s an efficient list of the highlights of my English muffin-making experience! (more detailed response following)
- Simple recipe, nothing too fancy
- Super new experience with bread, like nothing I’ve made before
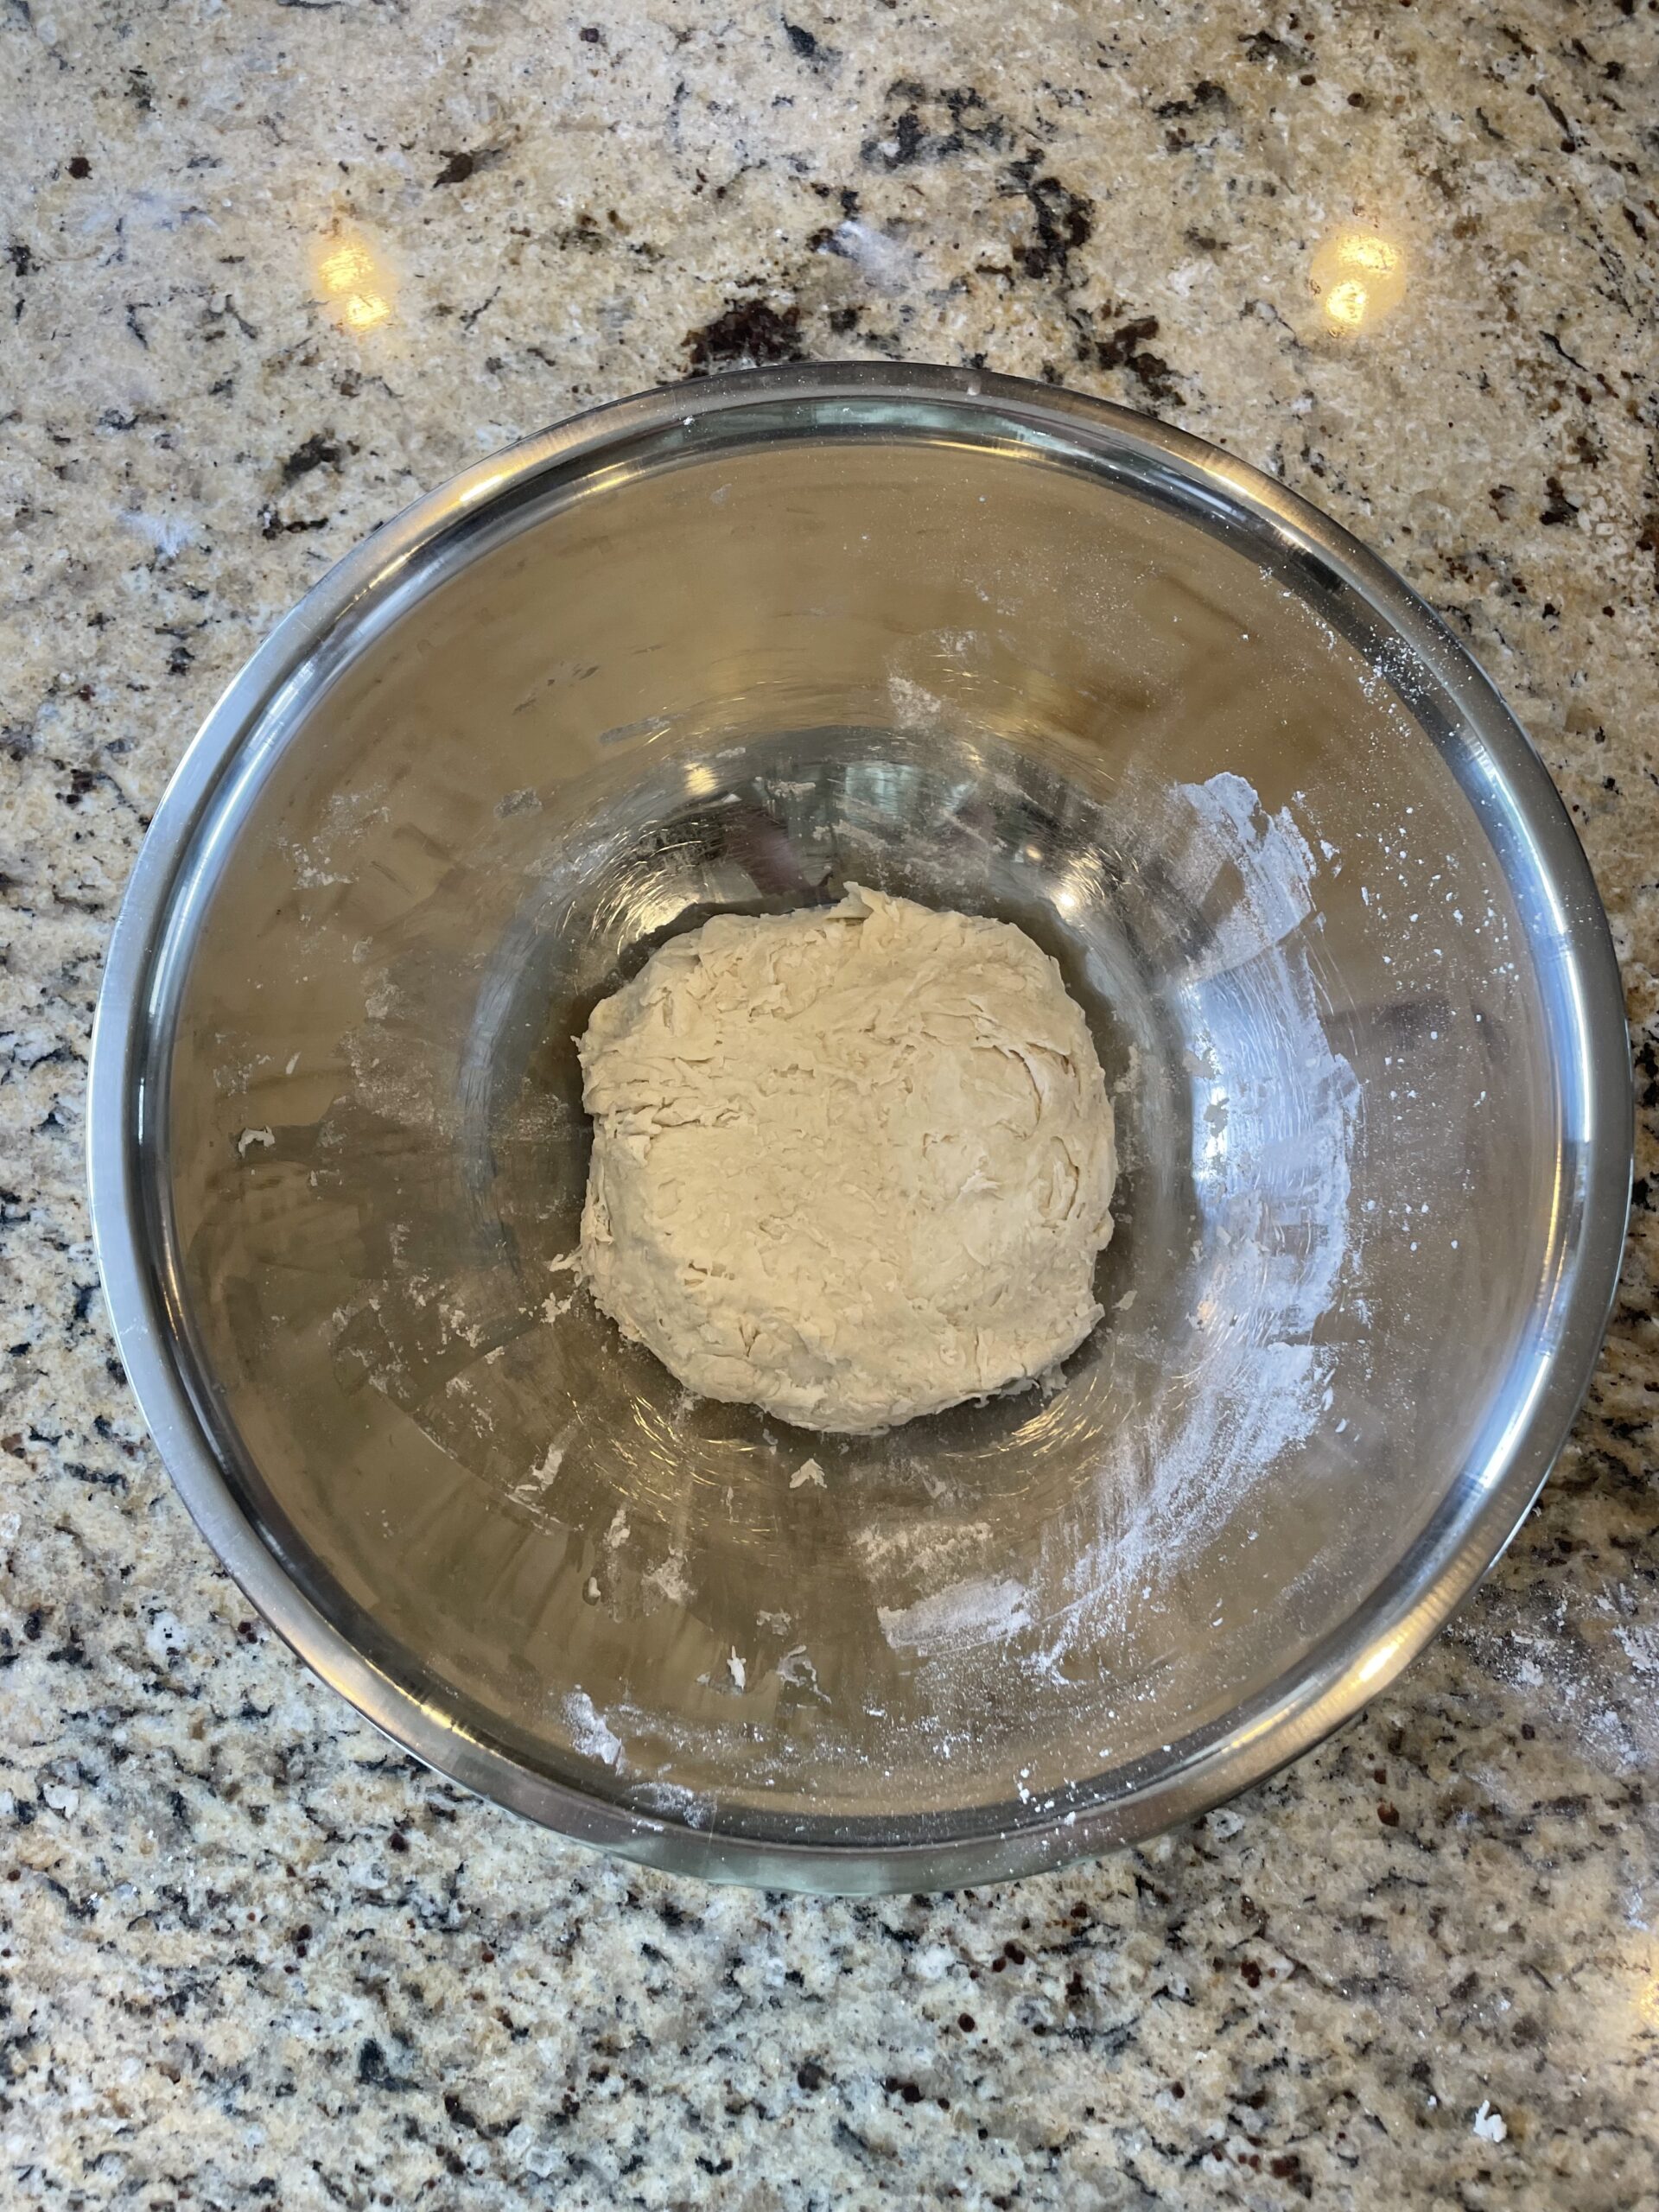
- Minimal effort, the time does most of the work (18 hours and 45 minutes of rising)
- No kneading! (thank god)
- They smell incredible and taste exquisite
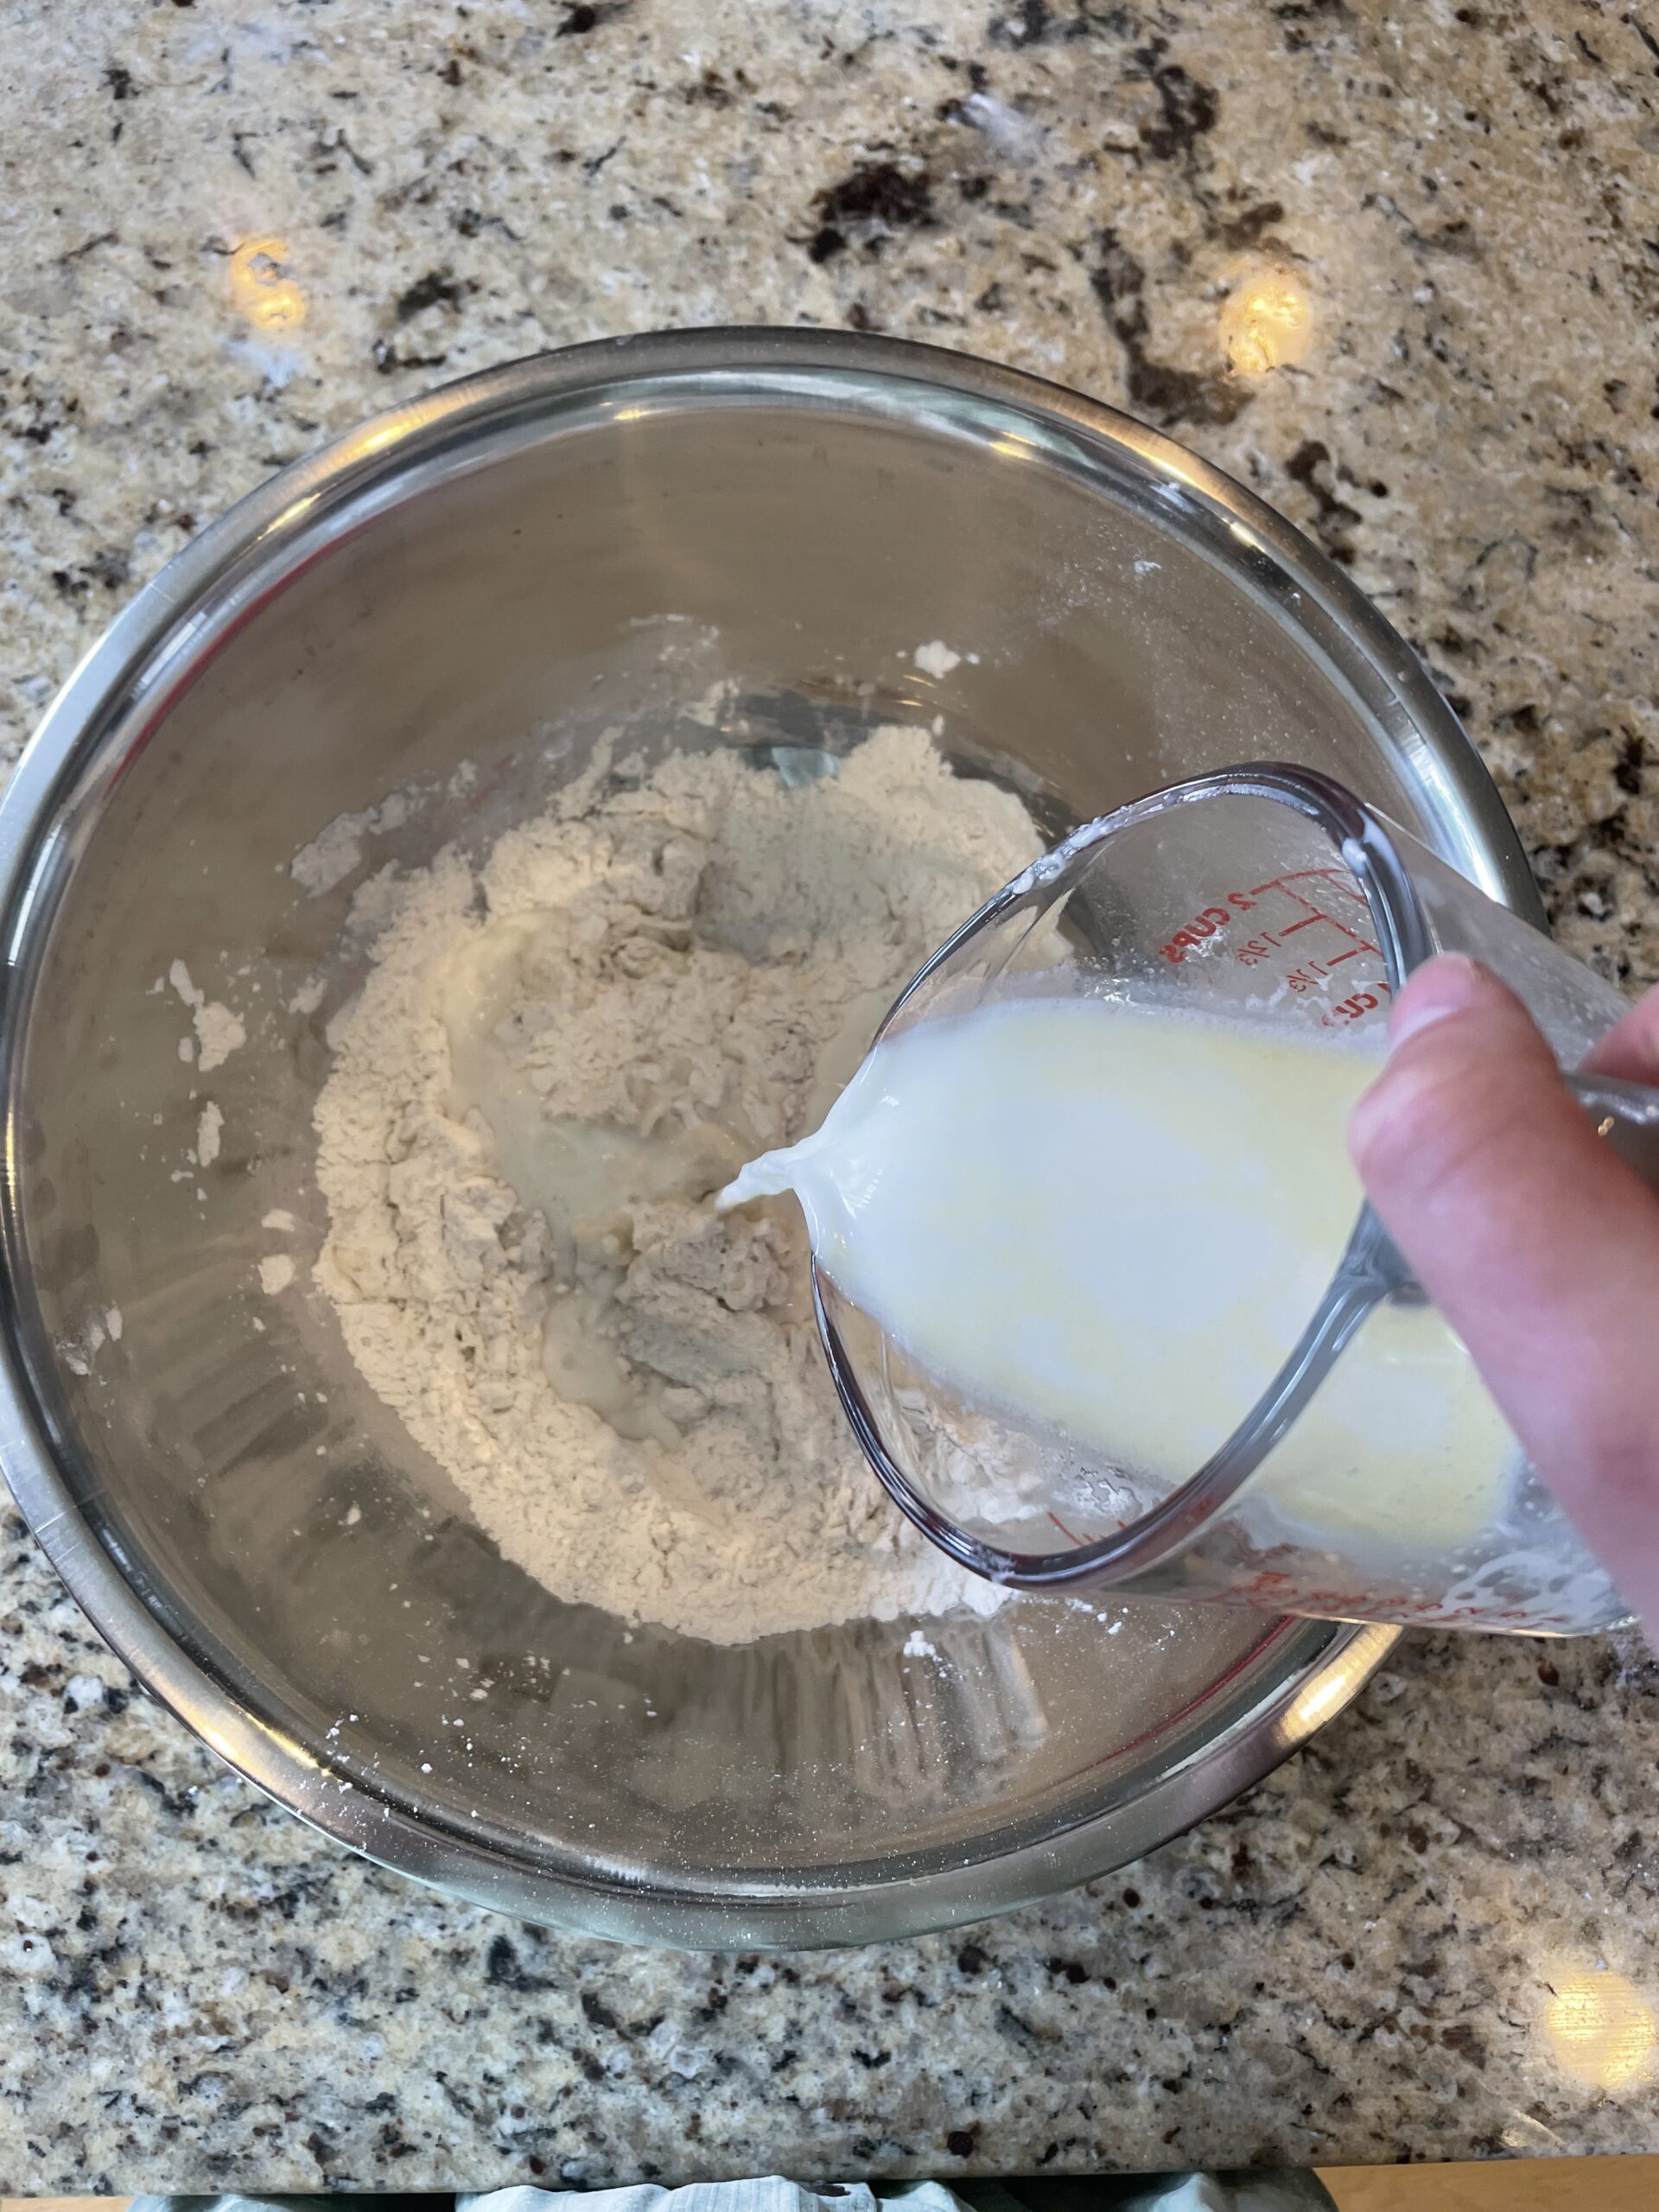
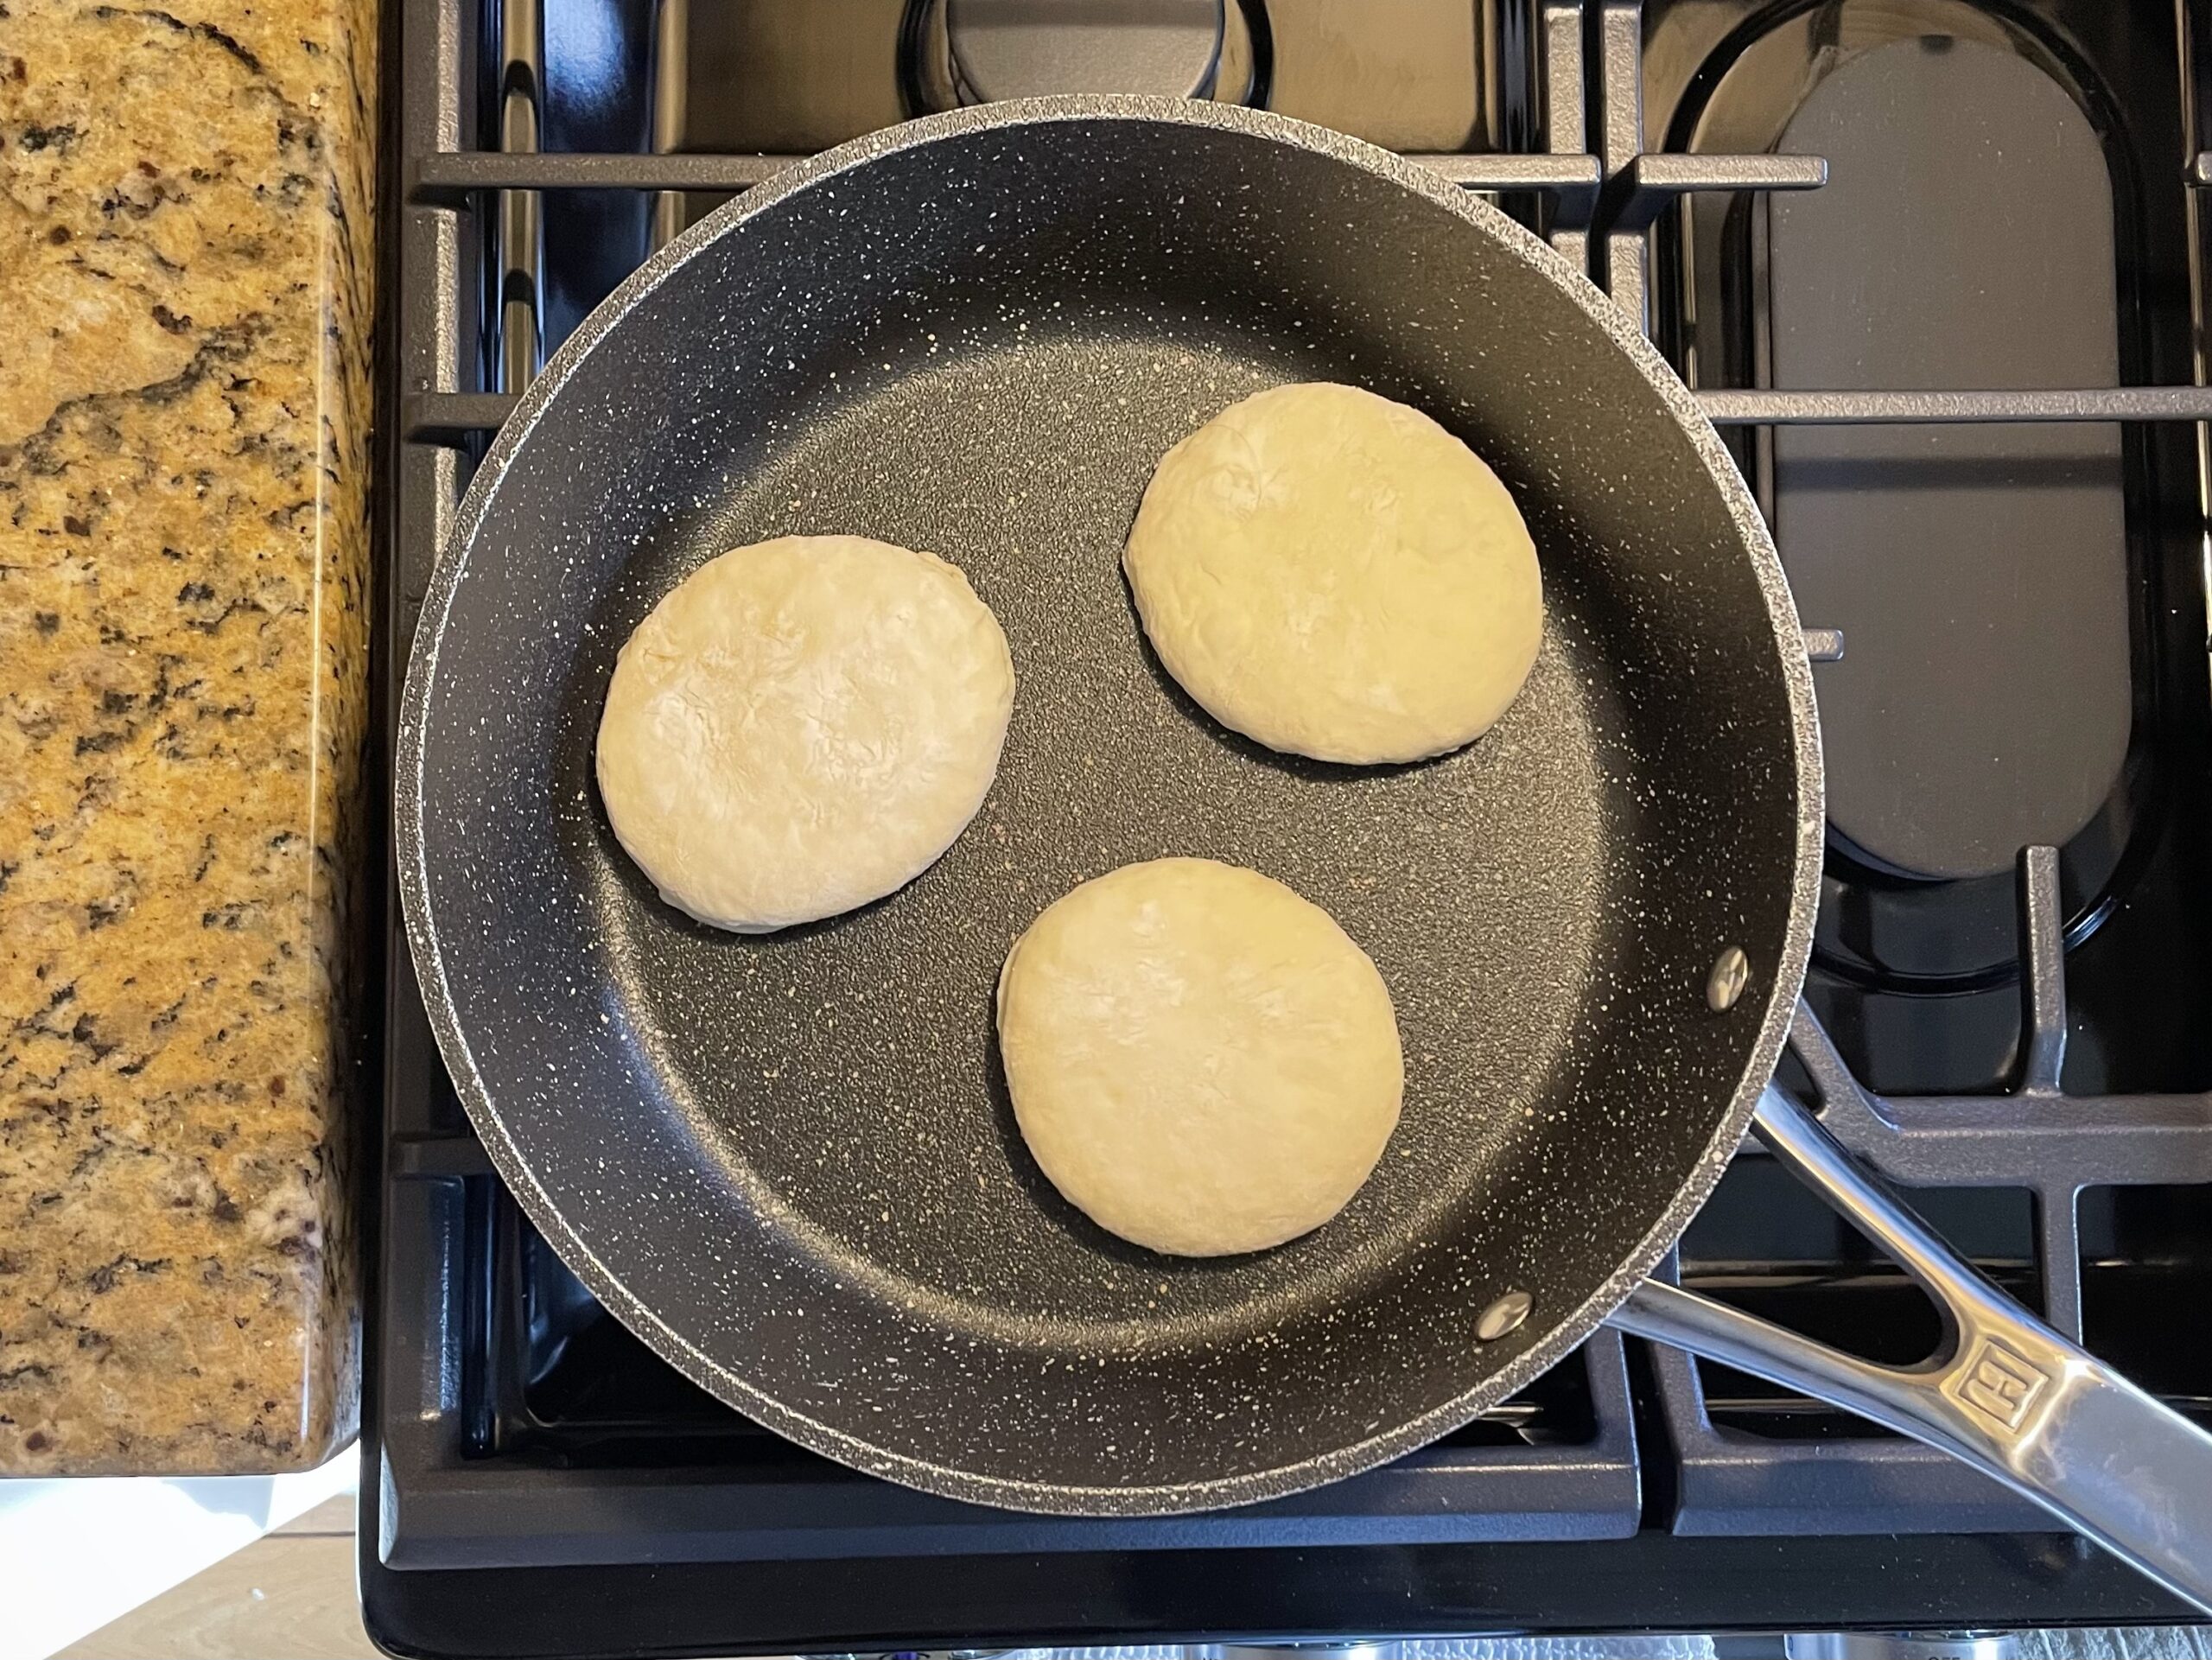
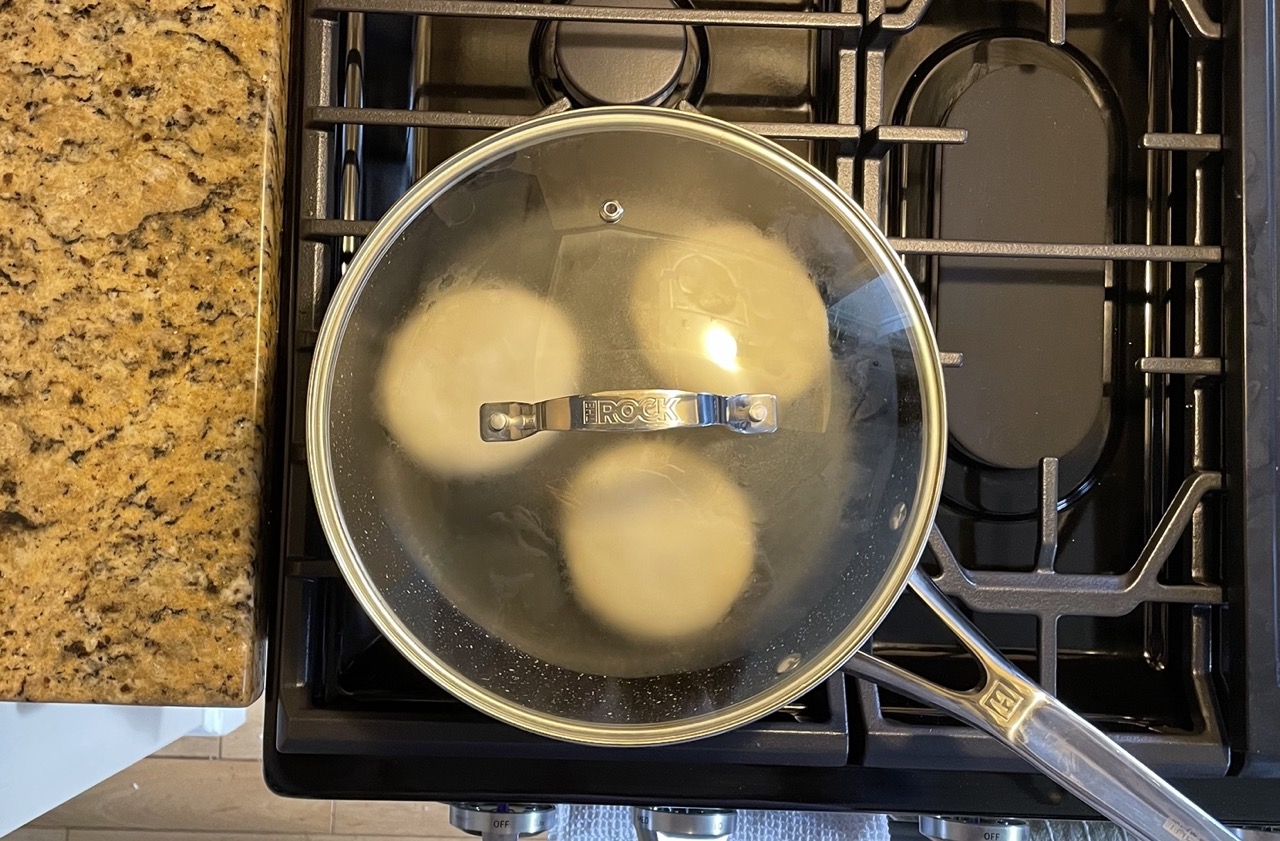
This recipe was honestly a rollercoaster. As I mentioned earlier, I made the mistake of not pre-reading it a day or two beforehand. This meant I expected to be done in 35 minutes (because that is what the top of the recipe told me) but instead, the entire process came to a close almost 24 hours after starting. Despite this, the recipe was actually significantly better than most recipes I have used. The measurements were given in multiple conversions, and the video gave so many great tips throughout. One tip I loved was using a lid for the first 5 minutes of cooking on the pan because it steams them and allows them to fluff up, making for some super poofy English muffins!
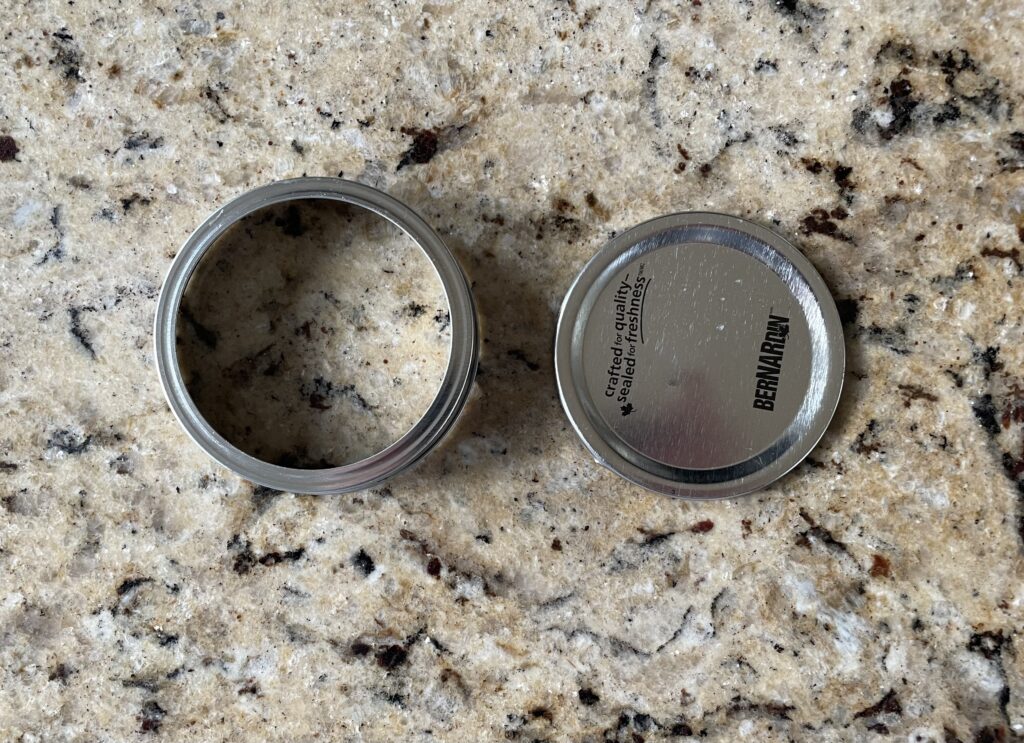
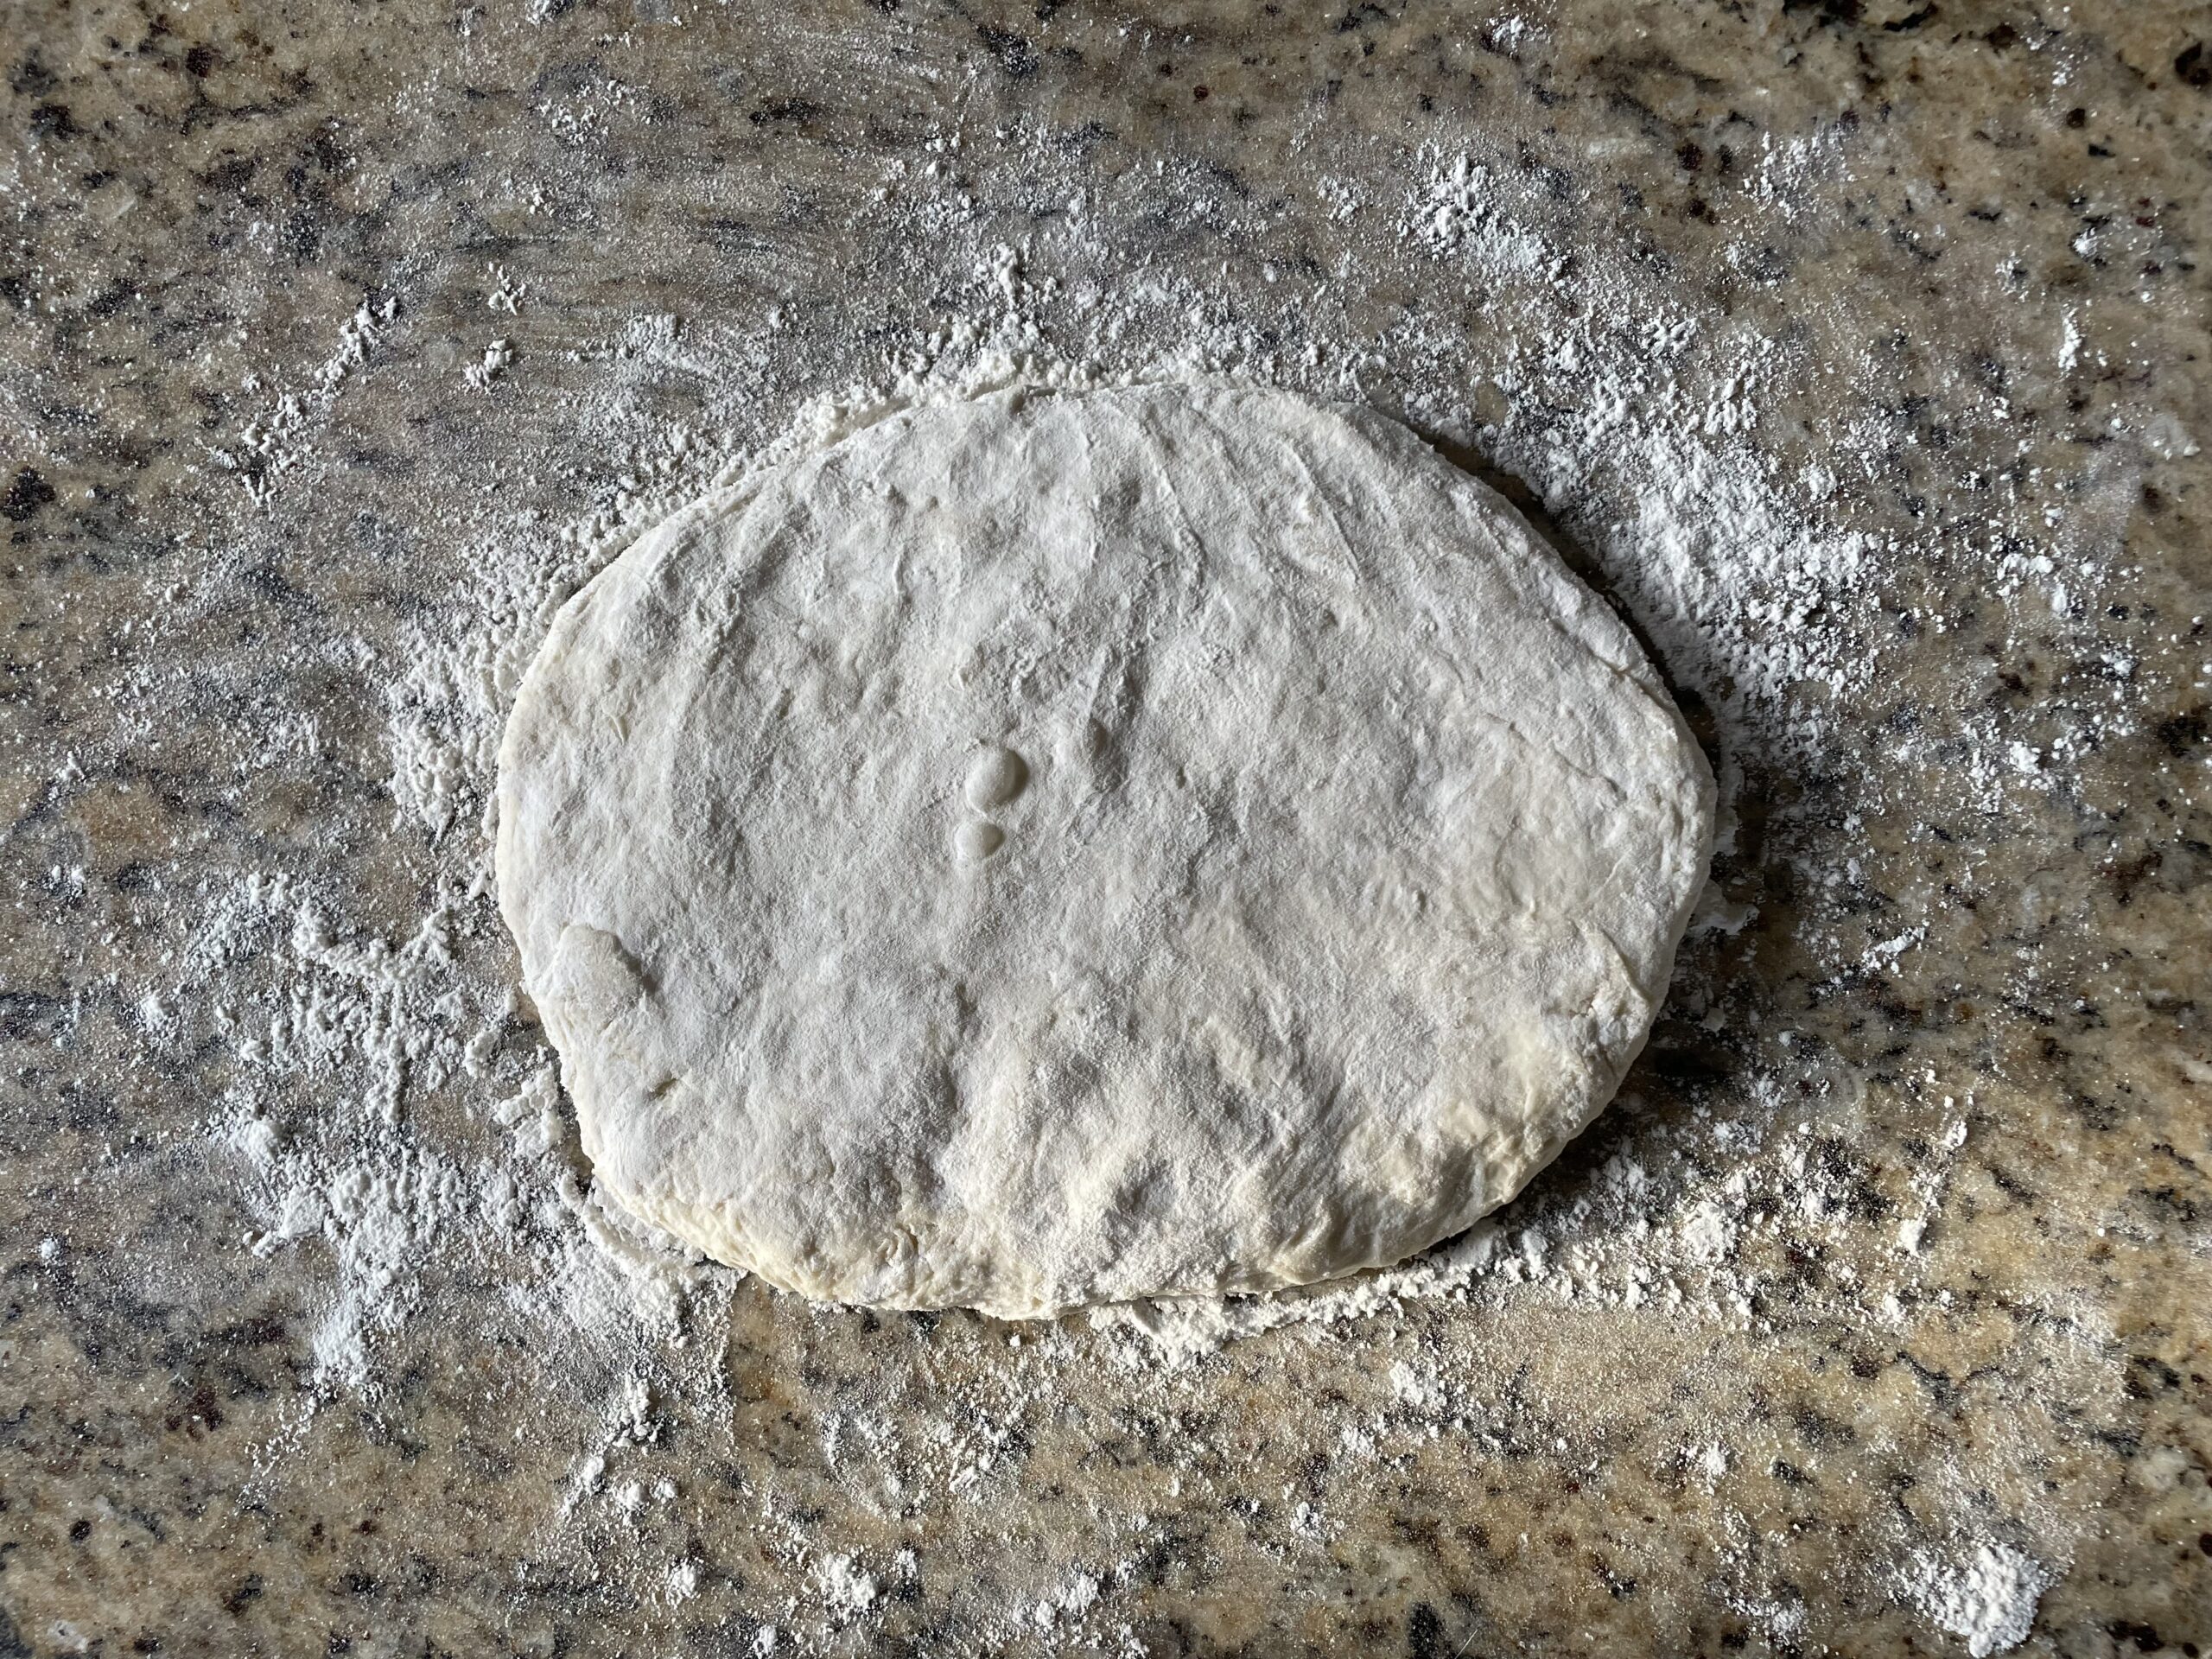
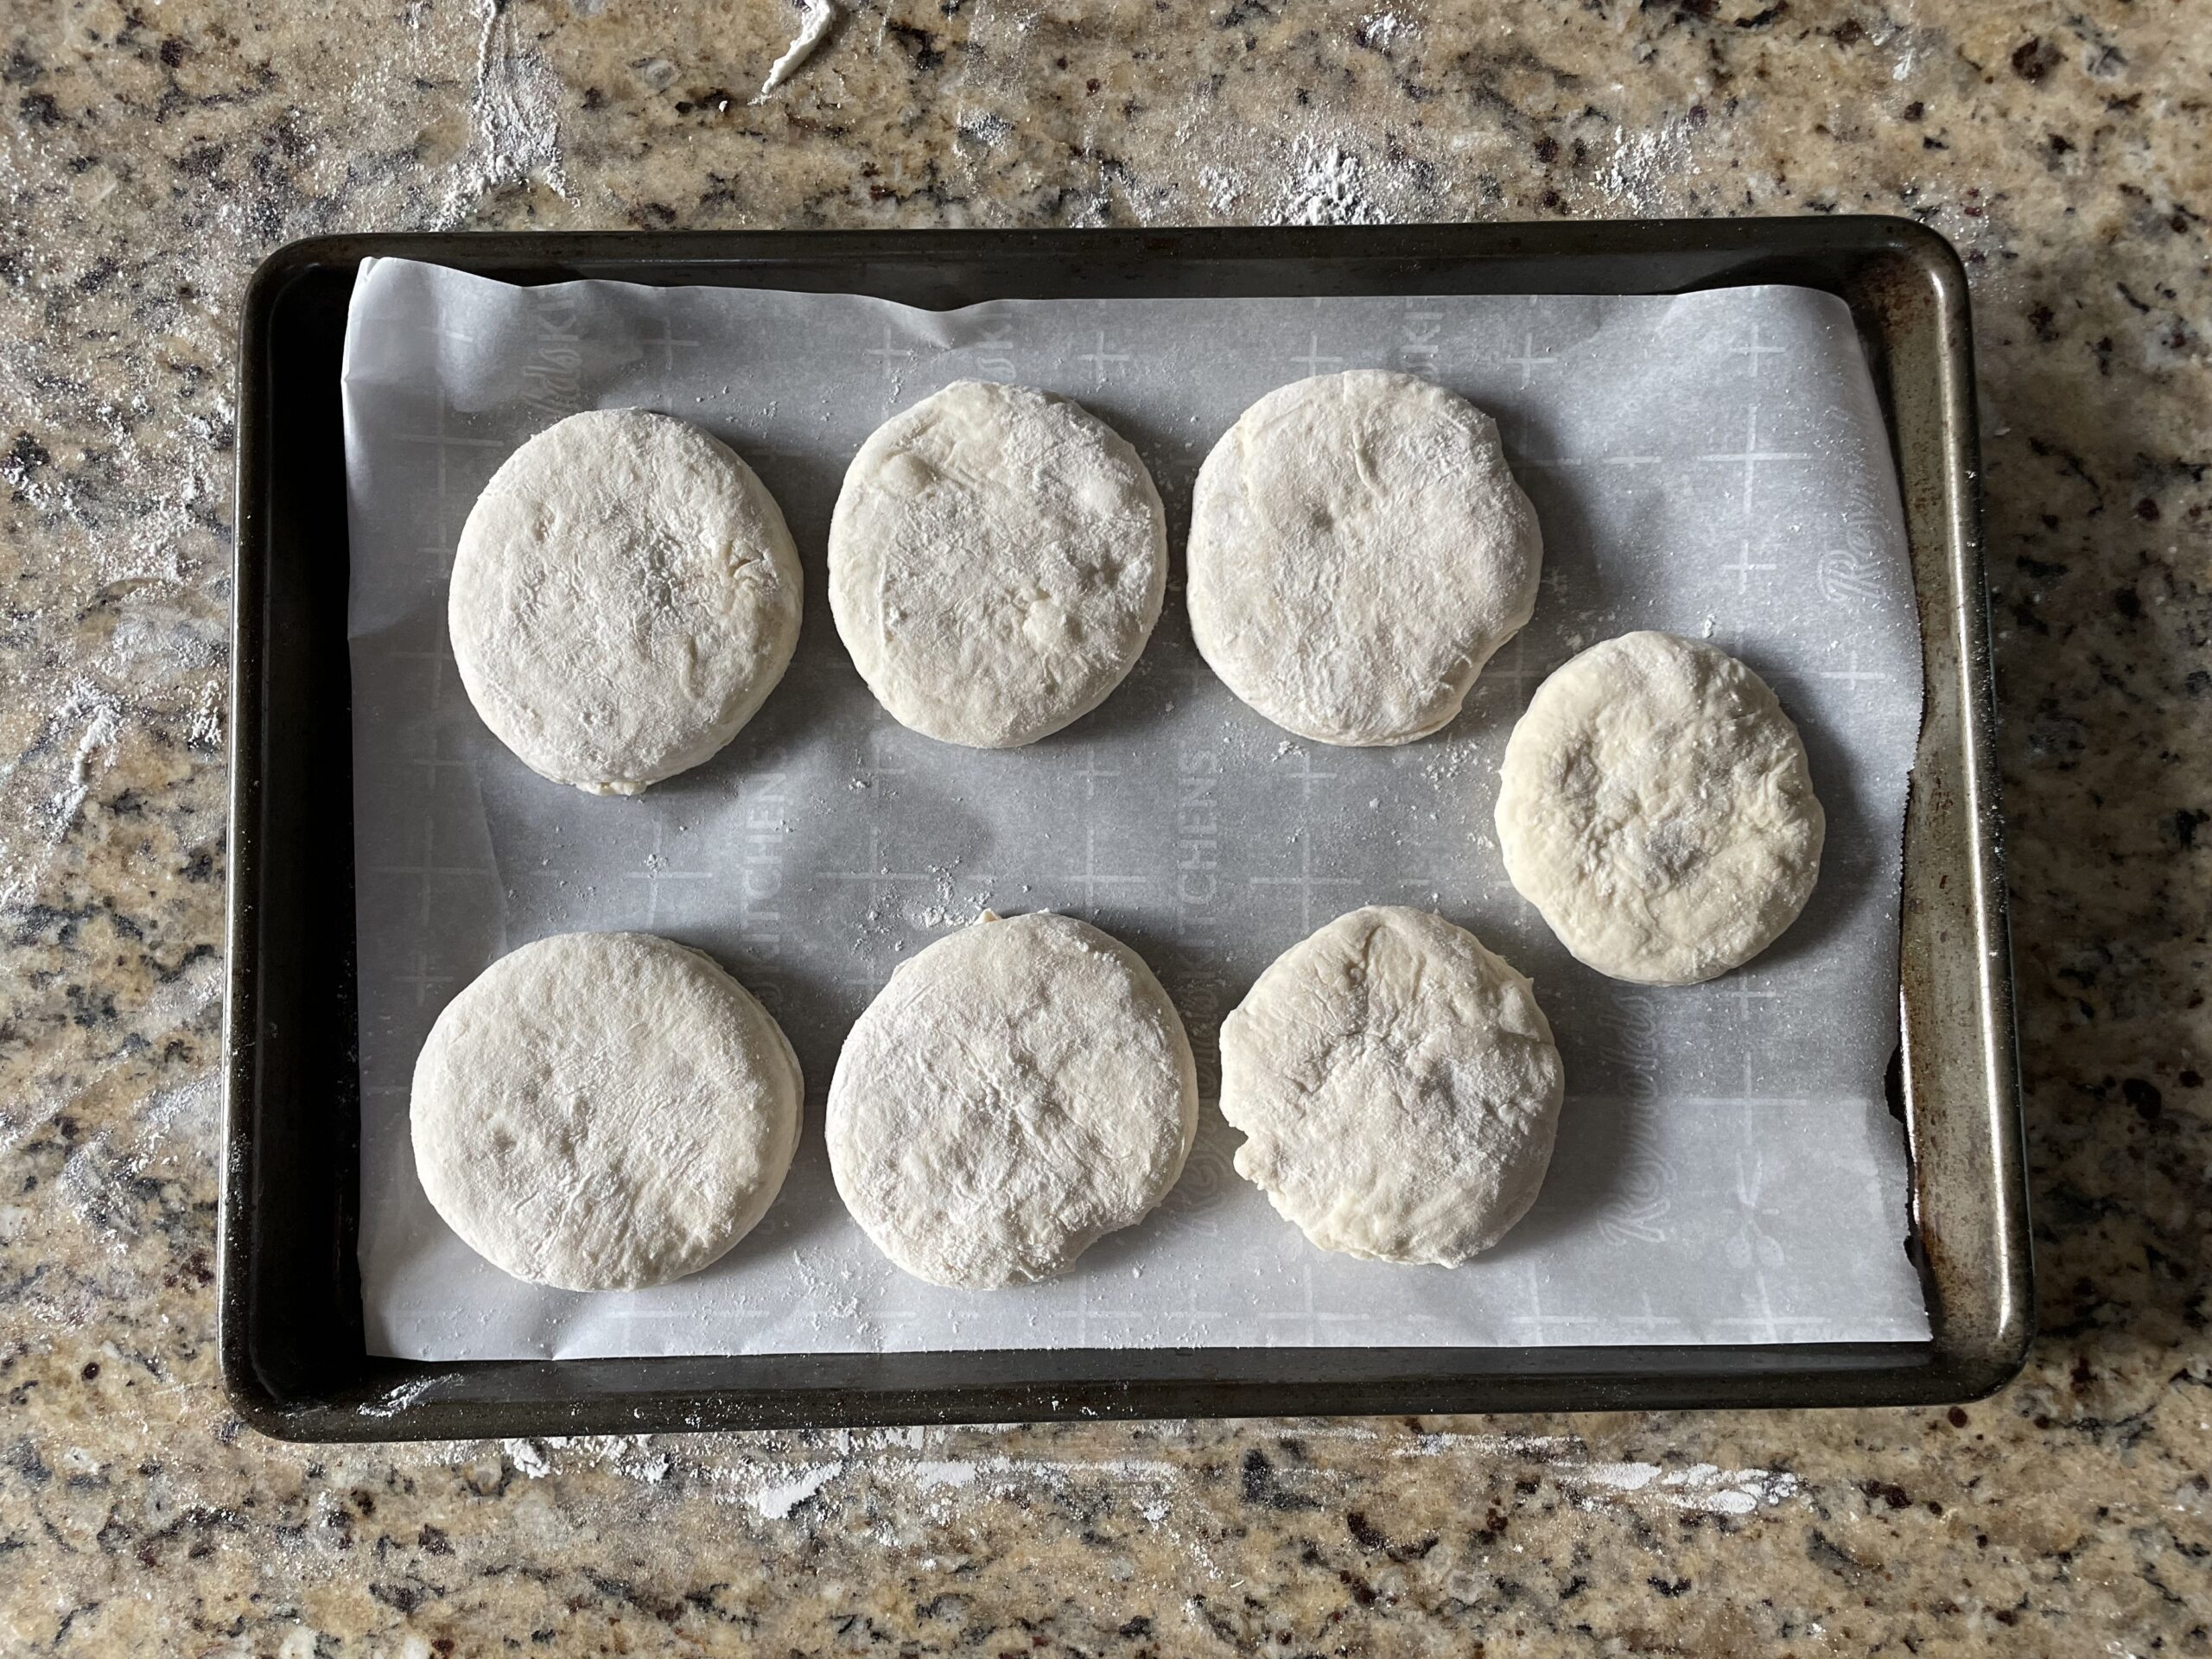
A hack I came up with on my own was using the lid of a mason jar to cut out the circles for the shape of the English muffins. I don’t have much baking stuff, and it tends to be quite expensive anyway so I love finding makeshift tools that we already have laying around in our households!
Improvements?
If I were to do this recipe again I would…
- Prep the dough the night before baking
- Make a larger batch 🤪
My experience with this recipe was quite successful. I am super happy with how they turned out, I wouldn’t change much about how I did it except for prepping it the night before!
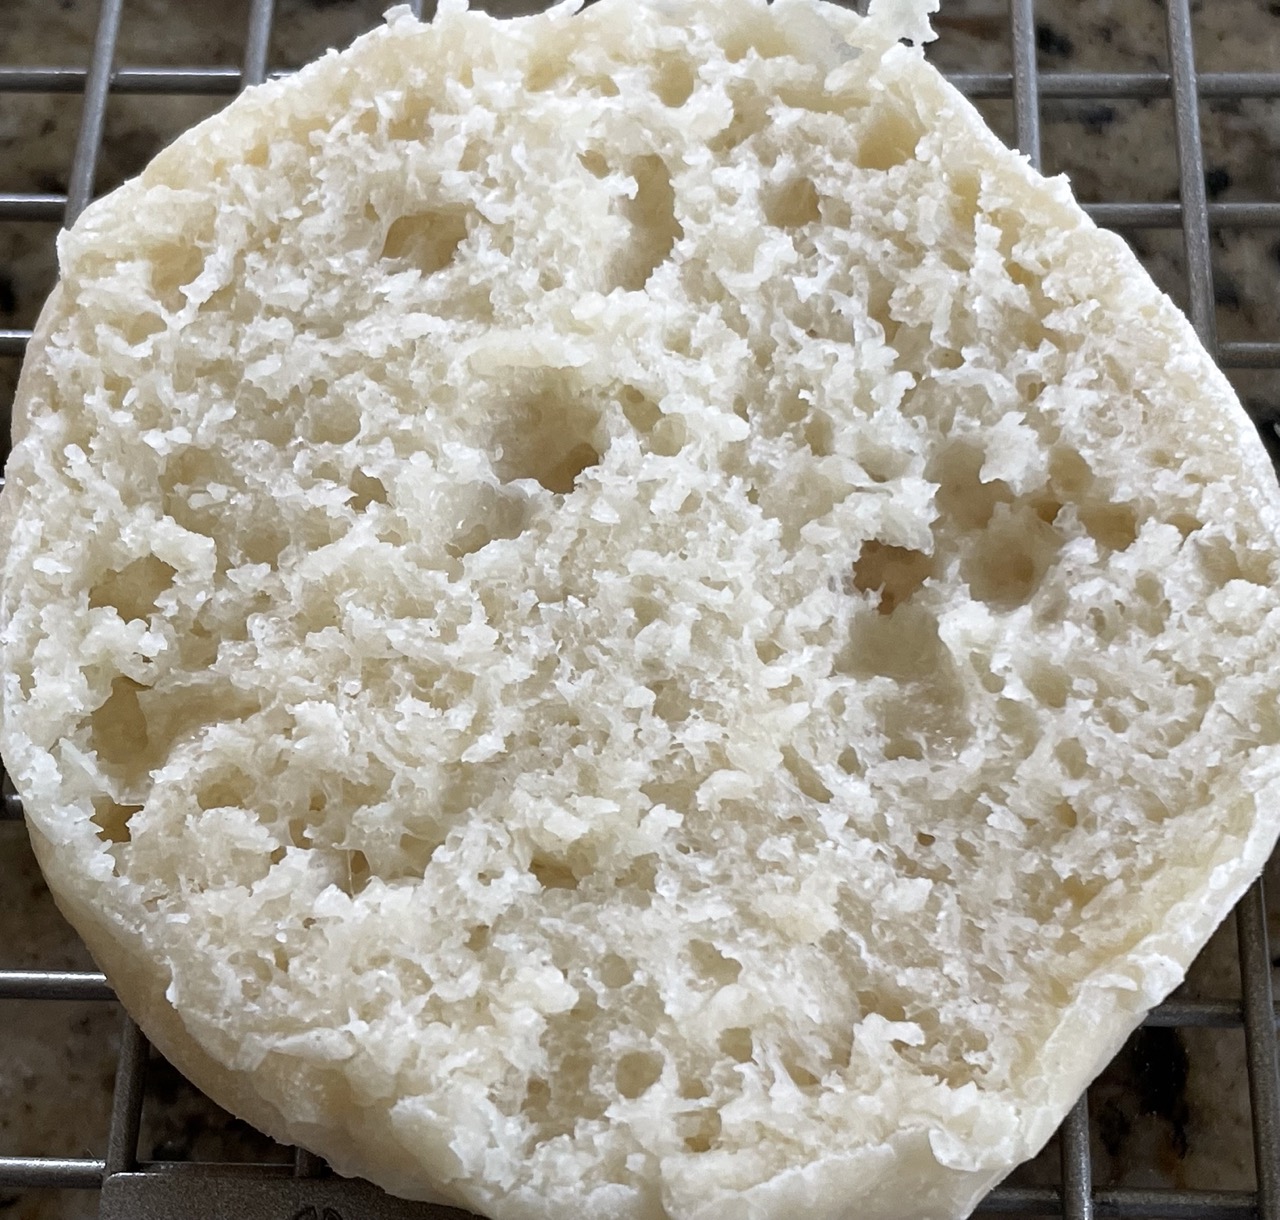
Pictures
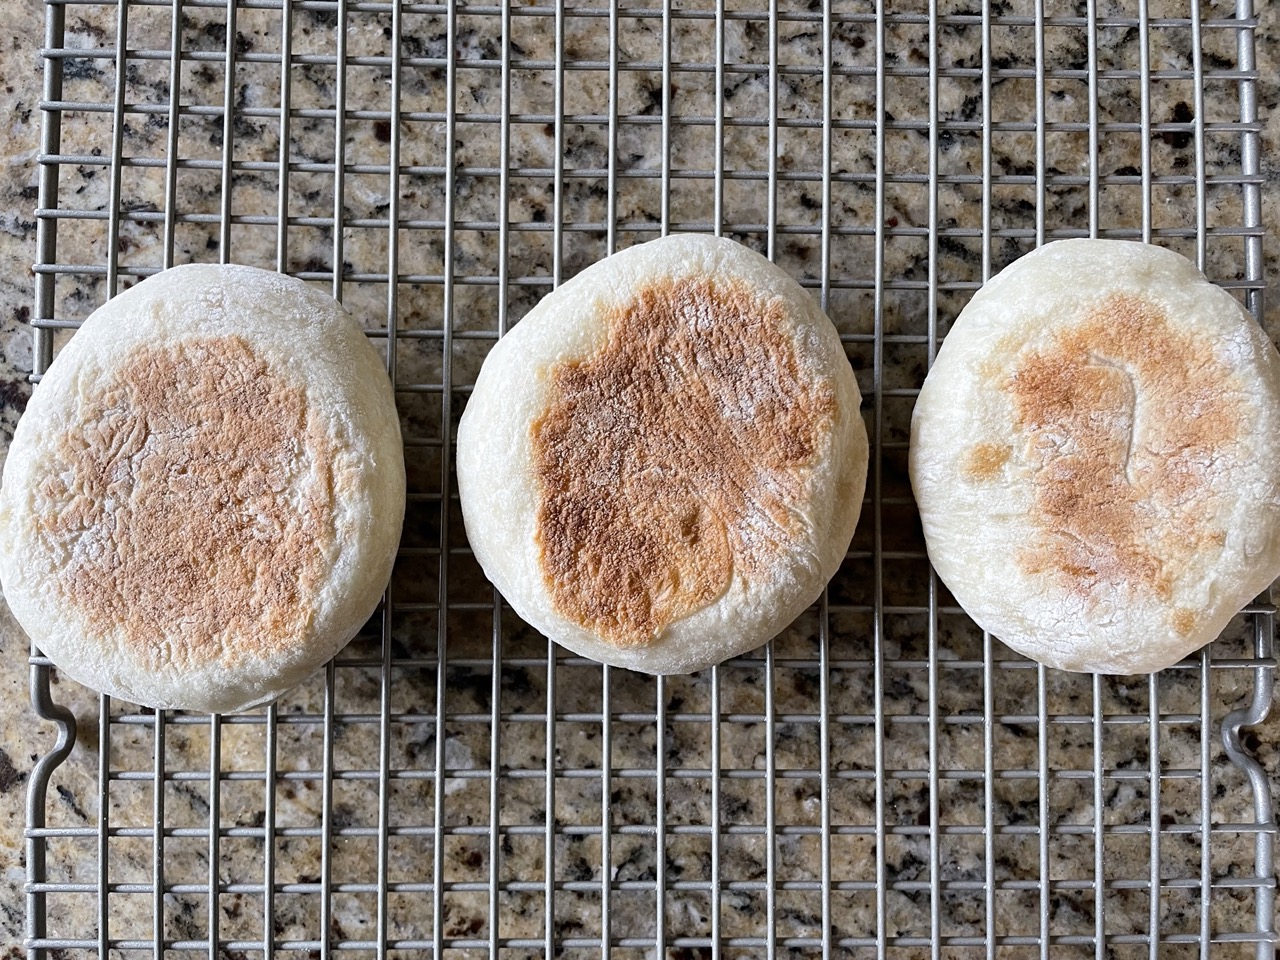

Now excuse me while I go make an English muffin egg sandwich.
Sustainability Tips
I wanted to throw in just a couple of sustainability tips I’ve been finding useful for this inquiry project. Because I’m a student, I try my hardest to constantly be saving money. Reusing as much as I can helps with this.
Bags
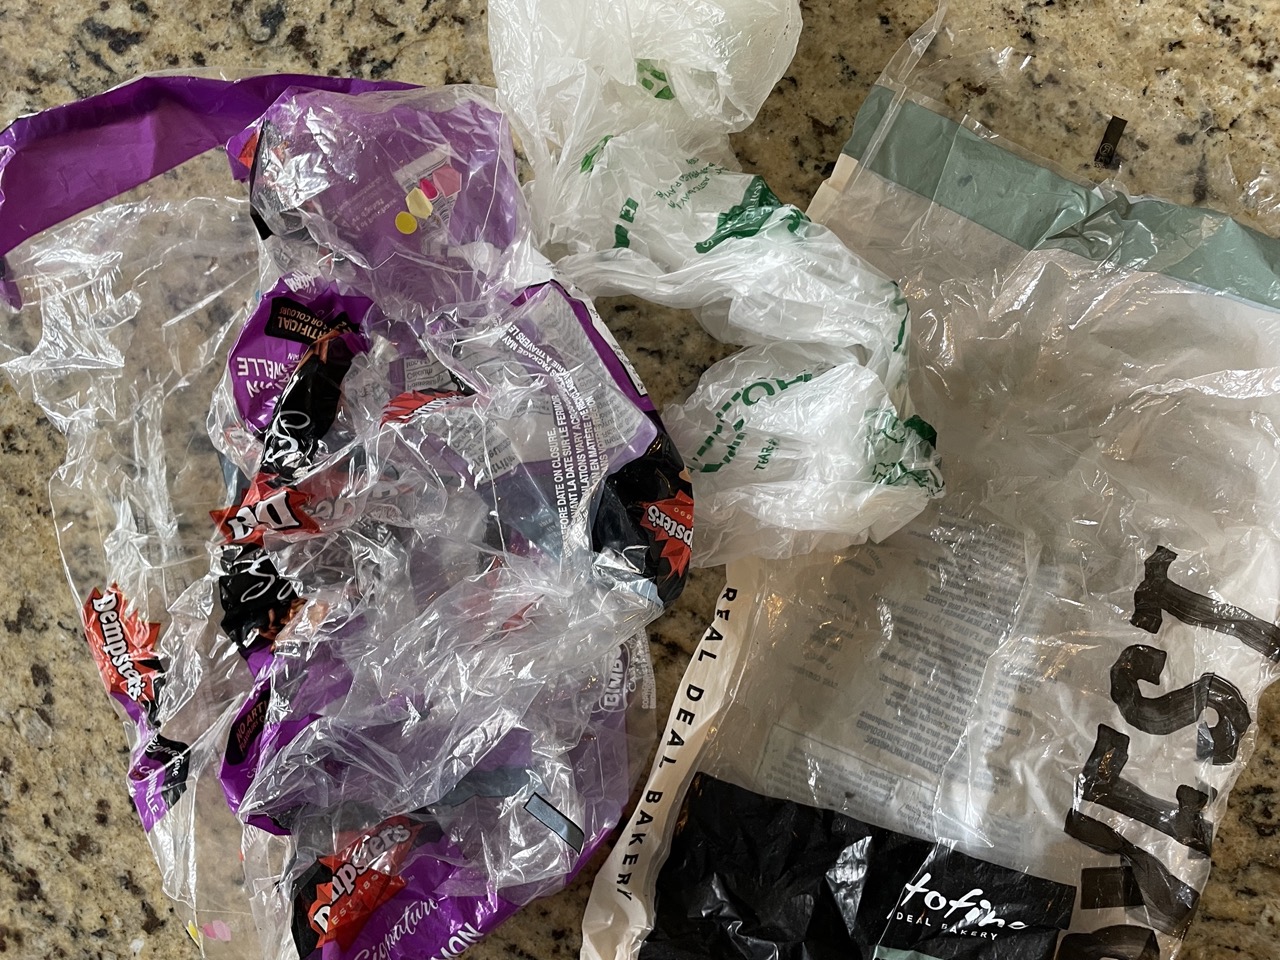
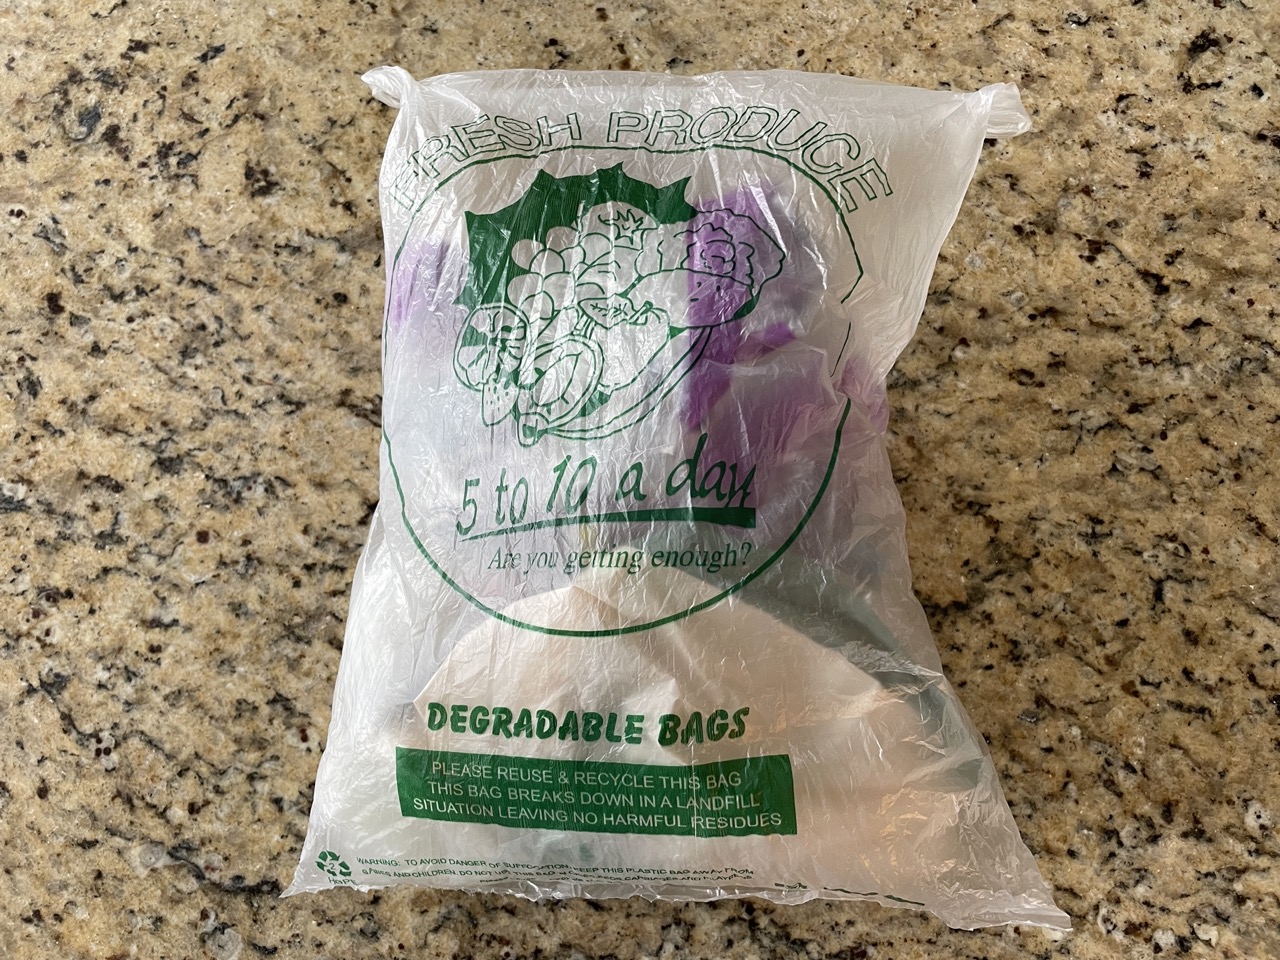
For bread making it helps to save old bread bags or produce bags. Most bread just leaves a couple of crumbs at the bottom of the bag and the bag is perfectly reusable. To clean them you can dump out whatever is left inside, turn the bag inside out, wipe it clean with a damp cloth, and leave it to dry. For produce bags, I don’t often clean these just due to the material, but they’re not usually dirty at all especially if they’ve just been used to transport some oranges or some veggies from the store to your home. The issue with the material on the produce bags is how easily it rips, so make sure you’re not putting any bread clips on them. If I’m freezing bread in the produce bags I usually double them up due to how thin they are, it’s worked great for me so far!
Parchment Paper
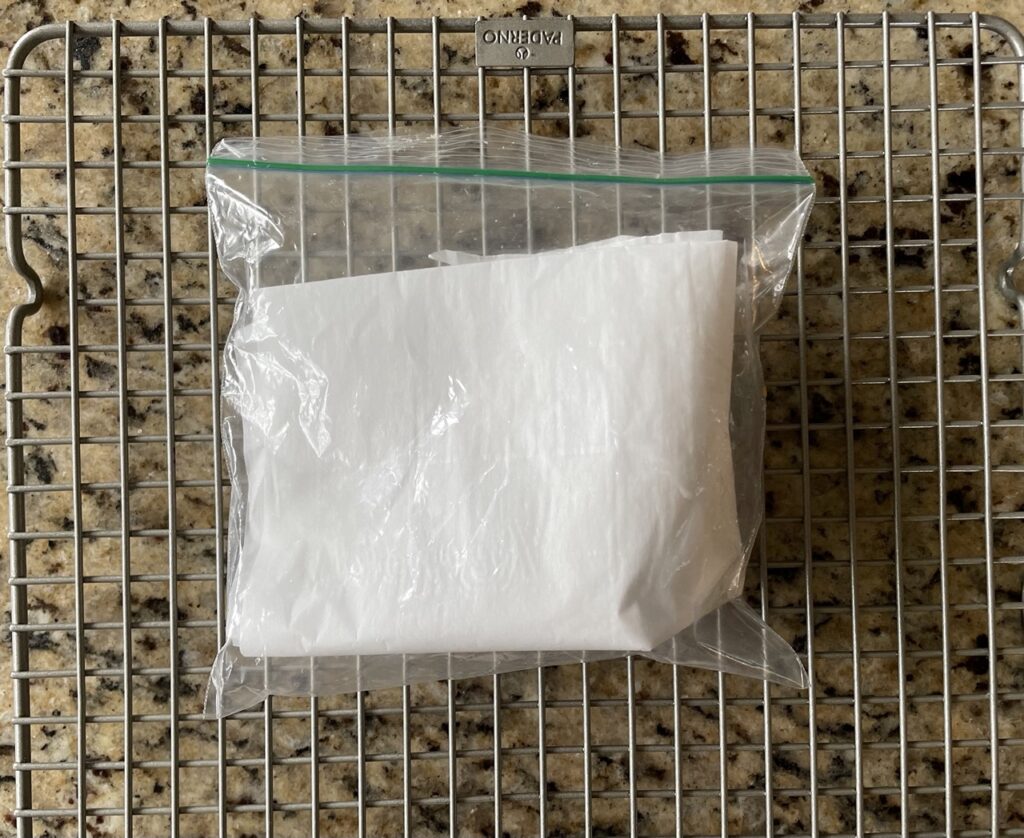
Next up is parchment paper. If you remember when I made tortillas, the recipe asked to stack the tortillas with little squares of parchment in between. Because I assumed I’d make tortillas again, I decided to save the squares to use again, as they were perfectly fine. The same goes for any parchment that is in relatively good condition and hasn’t gone in the oven. For example, I used parchment paper in this recipe for the English muffins to rise for 45 minutes. The parchment paper was in great condition and did not go in the oven so I brushed off some leftover flour, folded it up, and threw it in the bag with the rest of my stash.
Maybe these little things aren’t saving the world but it makes things a lot easier for me! Sometimes little things make big differences but in small ways. Hope this helped inspire some sustainability practices! Feel free to leave some ways you try to be sustainable in the comments, I’d love to hear some more 🙂
In this post