(Pictures at the end!)
Last week I said I would be following a recipe for a simple and basic white bread loaf. Well, lucky for y’all, I got busy this weekend baking up a storm and came out with 2 successful loaves to blog about! First off, I wanted to make something clear in regard to these blog posts. I wanted to say that I’m not gonna be holding anything back, whether that be good news or not-so-good news, I think it will be most helpful if I am completely transparent with my bread-making experiences.
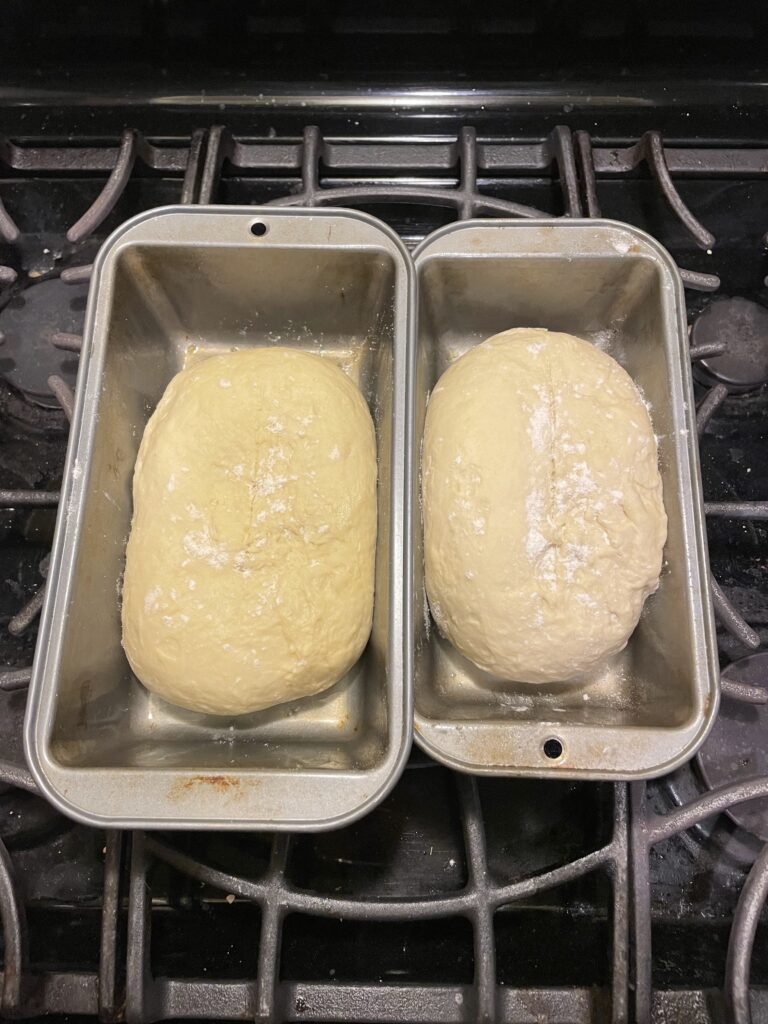
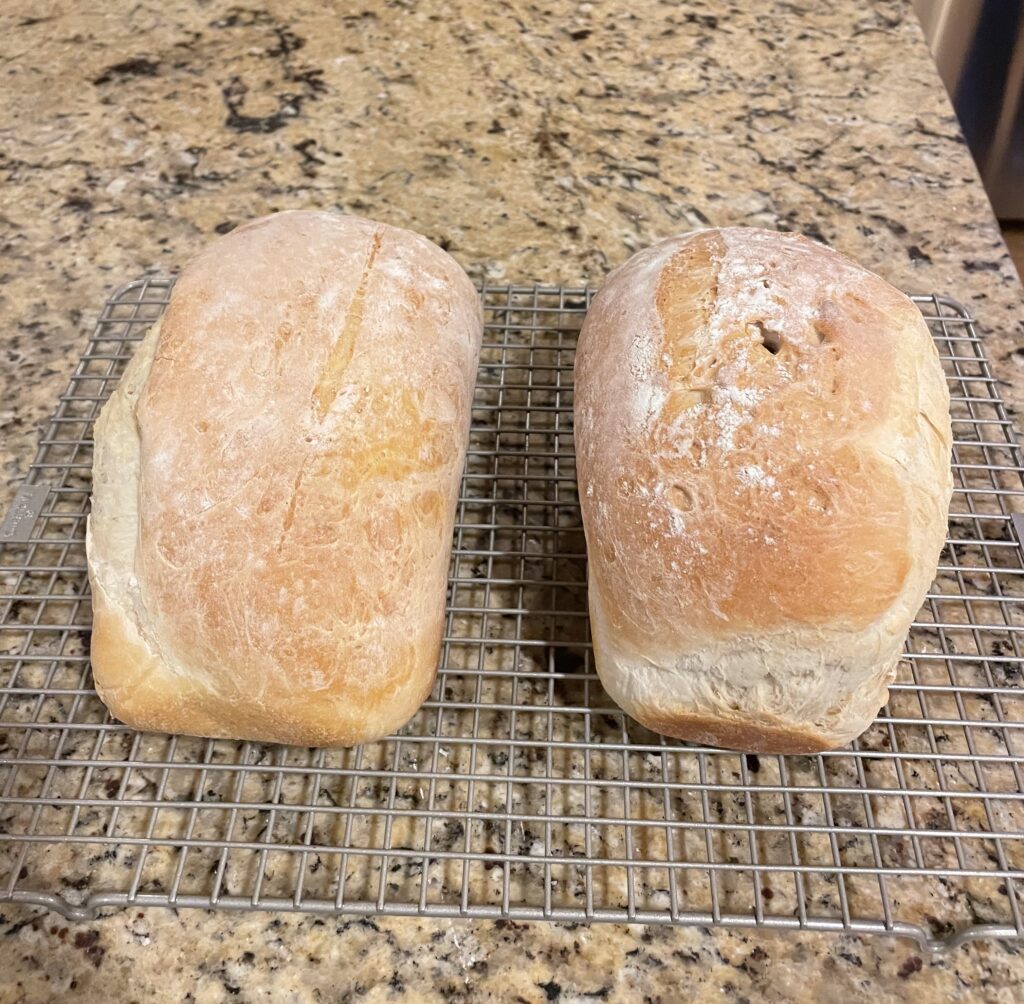
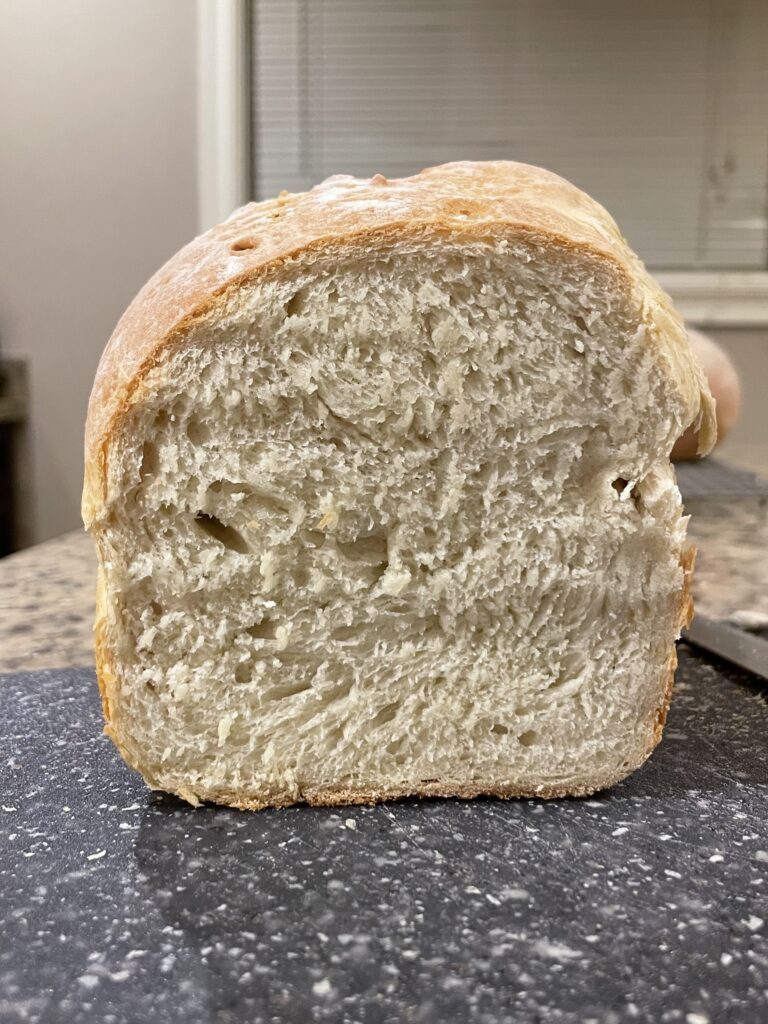
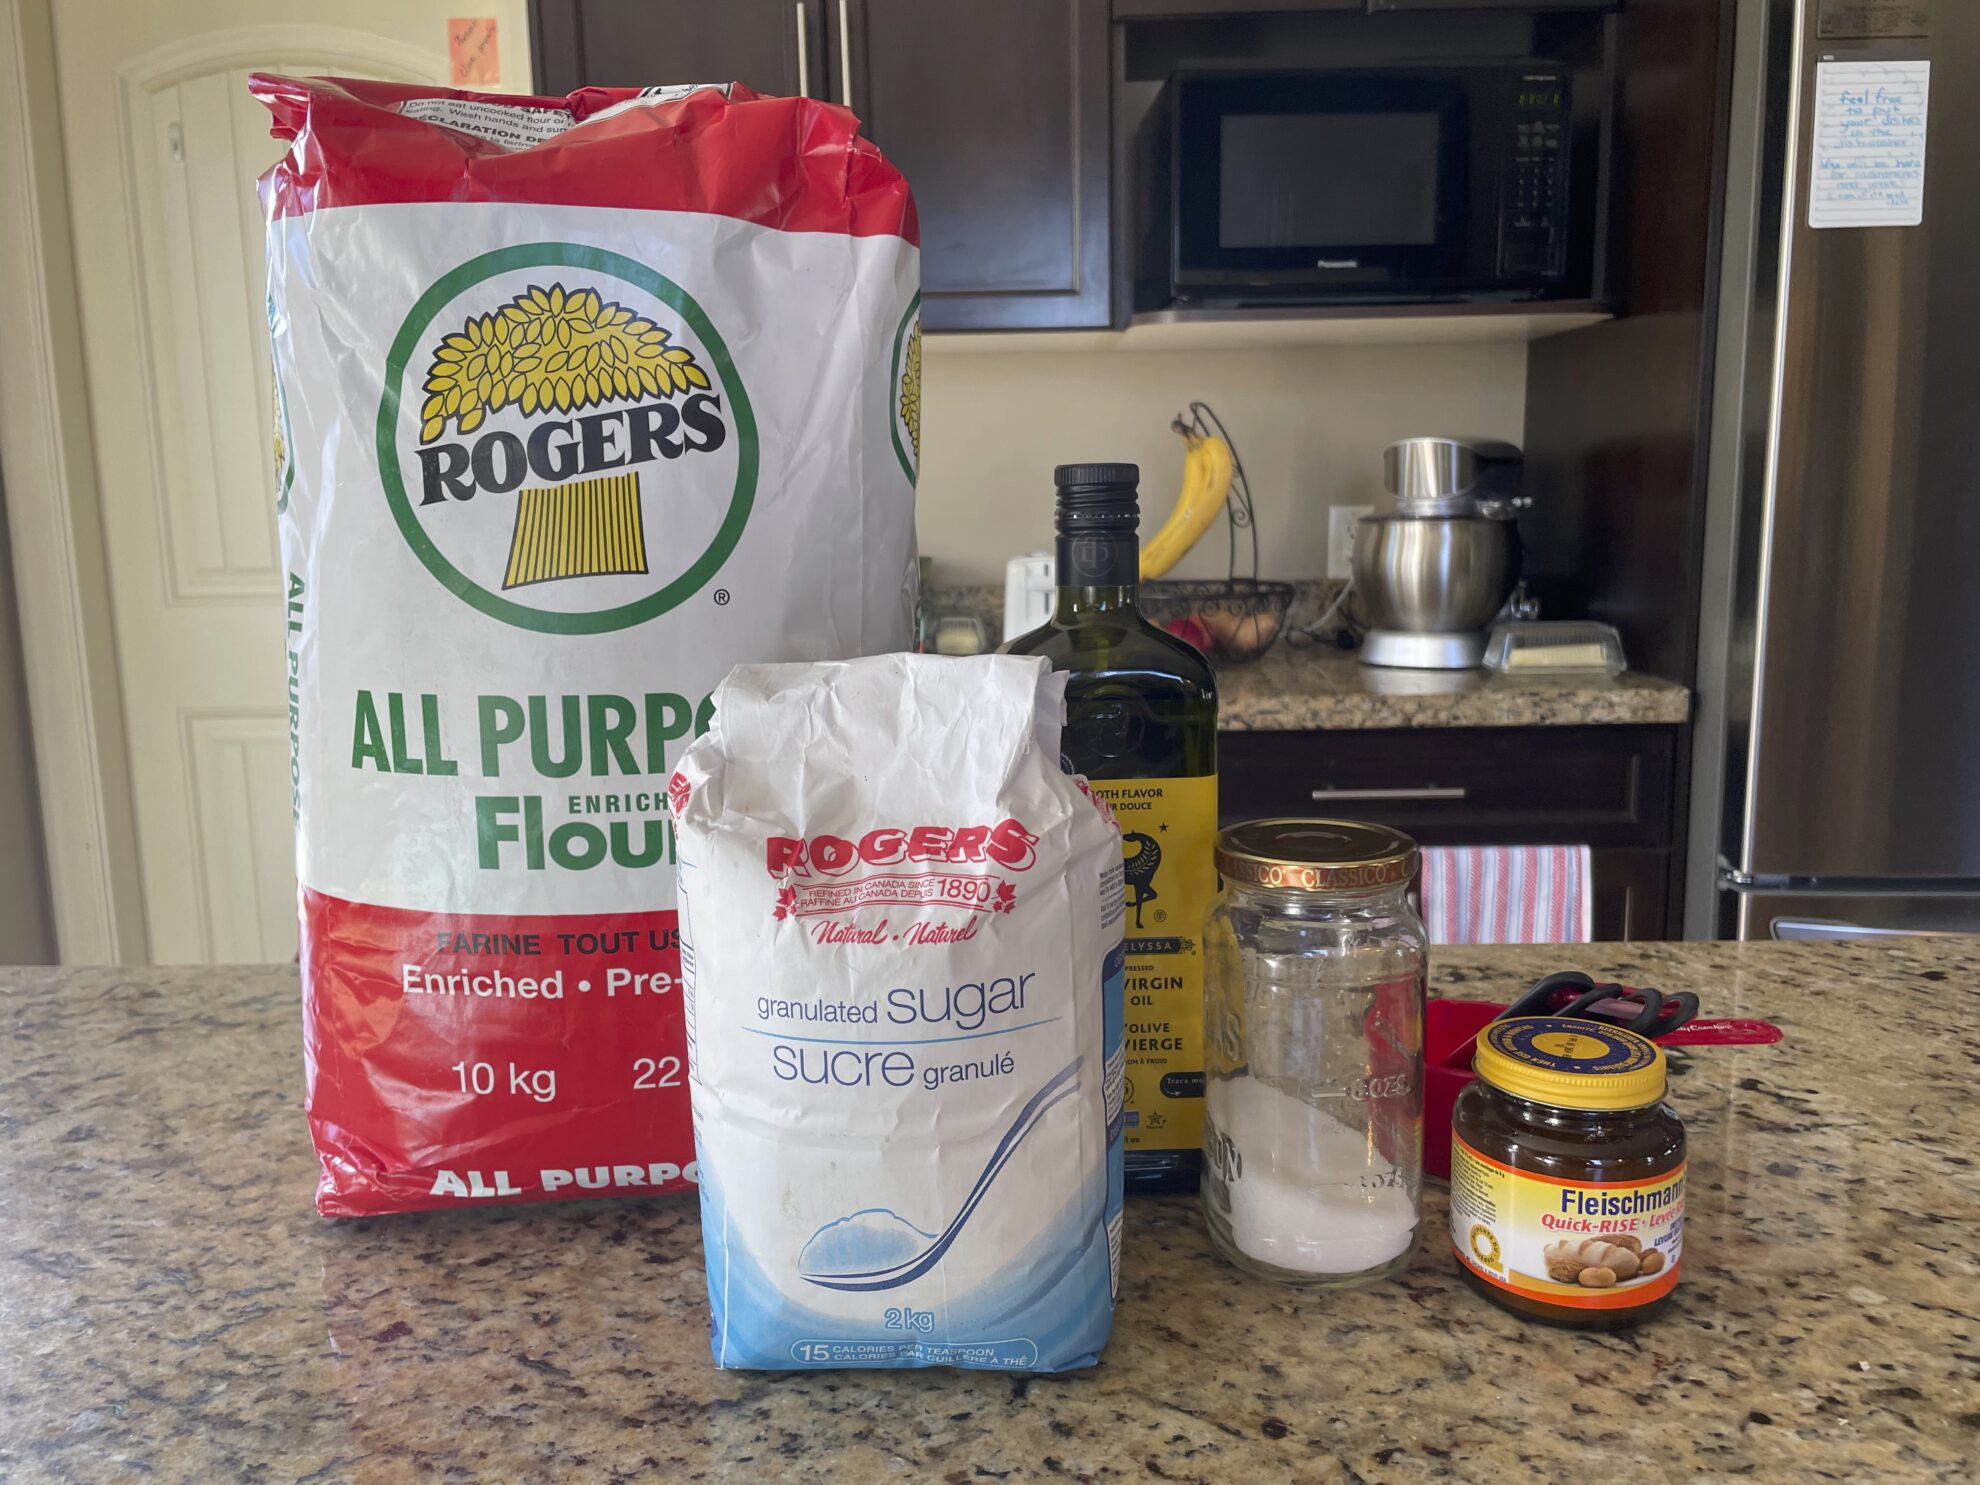
Alright, so let’s start with what went well. This time I successfully kneaded the bread and shaped it into a perfect loaf! This is something that I found myself struggling with the first two times as I didn’t quite get the recipe right and apparently “shape into a loaf” is a hard instruction for me to follow. I realized, through hands-on experience, that you actually have to knead the dough quite a bit, and you can’t just fold it over itself a couple of times, you have to do it 8-10 times for it to work. If you just fold the dough over onto itself a couple of times then it will separate when baking and your toast slices will essentially just fall apart. This time after some heavy kneading, I was able to accomplish a conform dough loaf that I’m hoping won’t fall apart because I’m gonna need it for peanut butter jelly sandwiches. This time I also let the loaves rise a bit more before putting them in the oven, which is something I totally missed in the recipe the first few times around. However, due to my anxiety for these loaves to turn out perfectly, and my rush of excitement to get them in the oven, I was too coy with my slits (which help the bread to vent whilst cooking) and this caused the bread to open in its own spots (you can sort of see this in the pictures). Though this doesn’t completely ruin the loaves, I would still like to get better at making the slits as you can get stylish with them. One thing I wanted to share was a mistake I made prepping. I did not make sure I had all of the correct measurement tools before starting and realized after that my ‘1 cup’ measuring cup was busy in the dishwasher getting cleaned. On a normal day, this wouldn’t have mattered, but I needed that cup to measure all of the flour. And so, I had to improvise and use a combination of a ¾ cup and a ¼ cup to measure out the flour in the recipe. I’m glad it all worked out in the end but I definitely learned to make sure I have all my tools before I begin.
Okay, this blog post is getting a bit lengthy, and I don’t want to waste all of your time, so I’ve decided to compile a few bread-making tips and tricks that I’ve picked up so far.
- Bread takes a lot of patience, time, and flour.
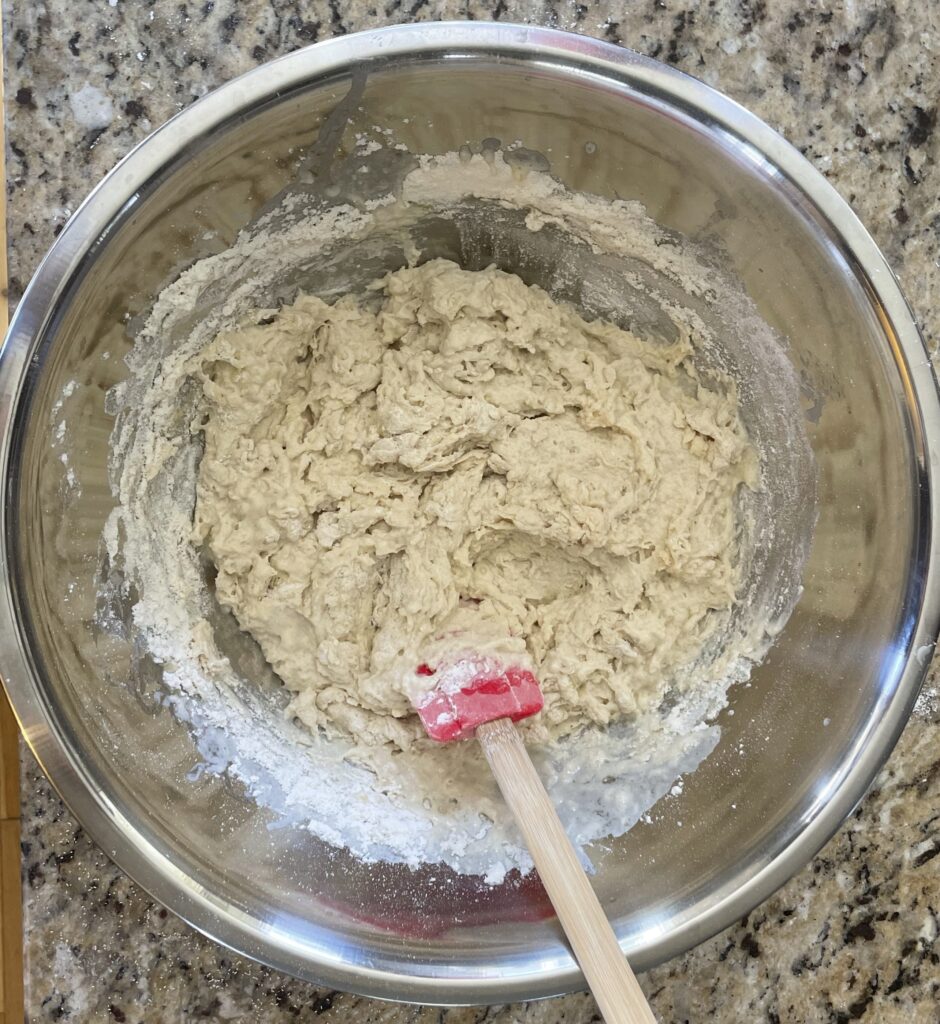
- Whisks are whisky business (it’s impossible to stir with one, trust me you won’t regret just using a normal spatula.)
- Yes, you can use a stand mixer to mix the dough, but using your hands is more fun.
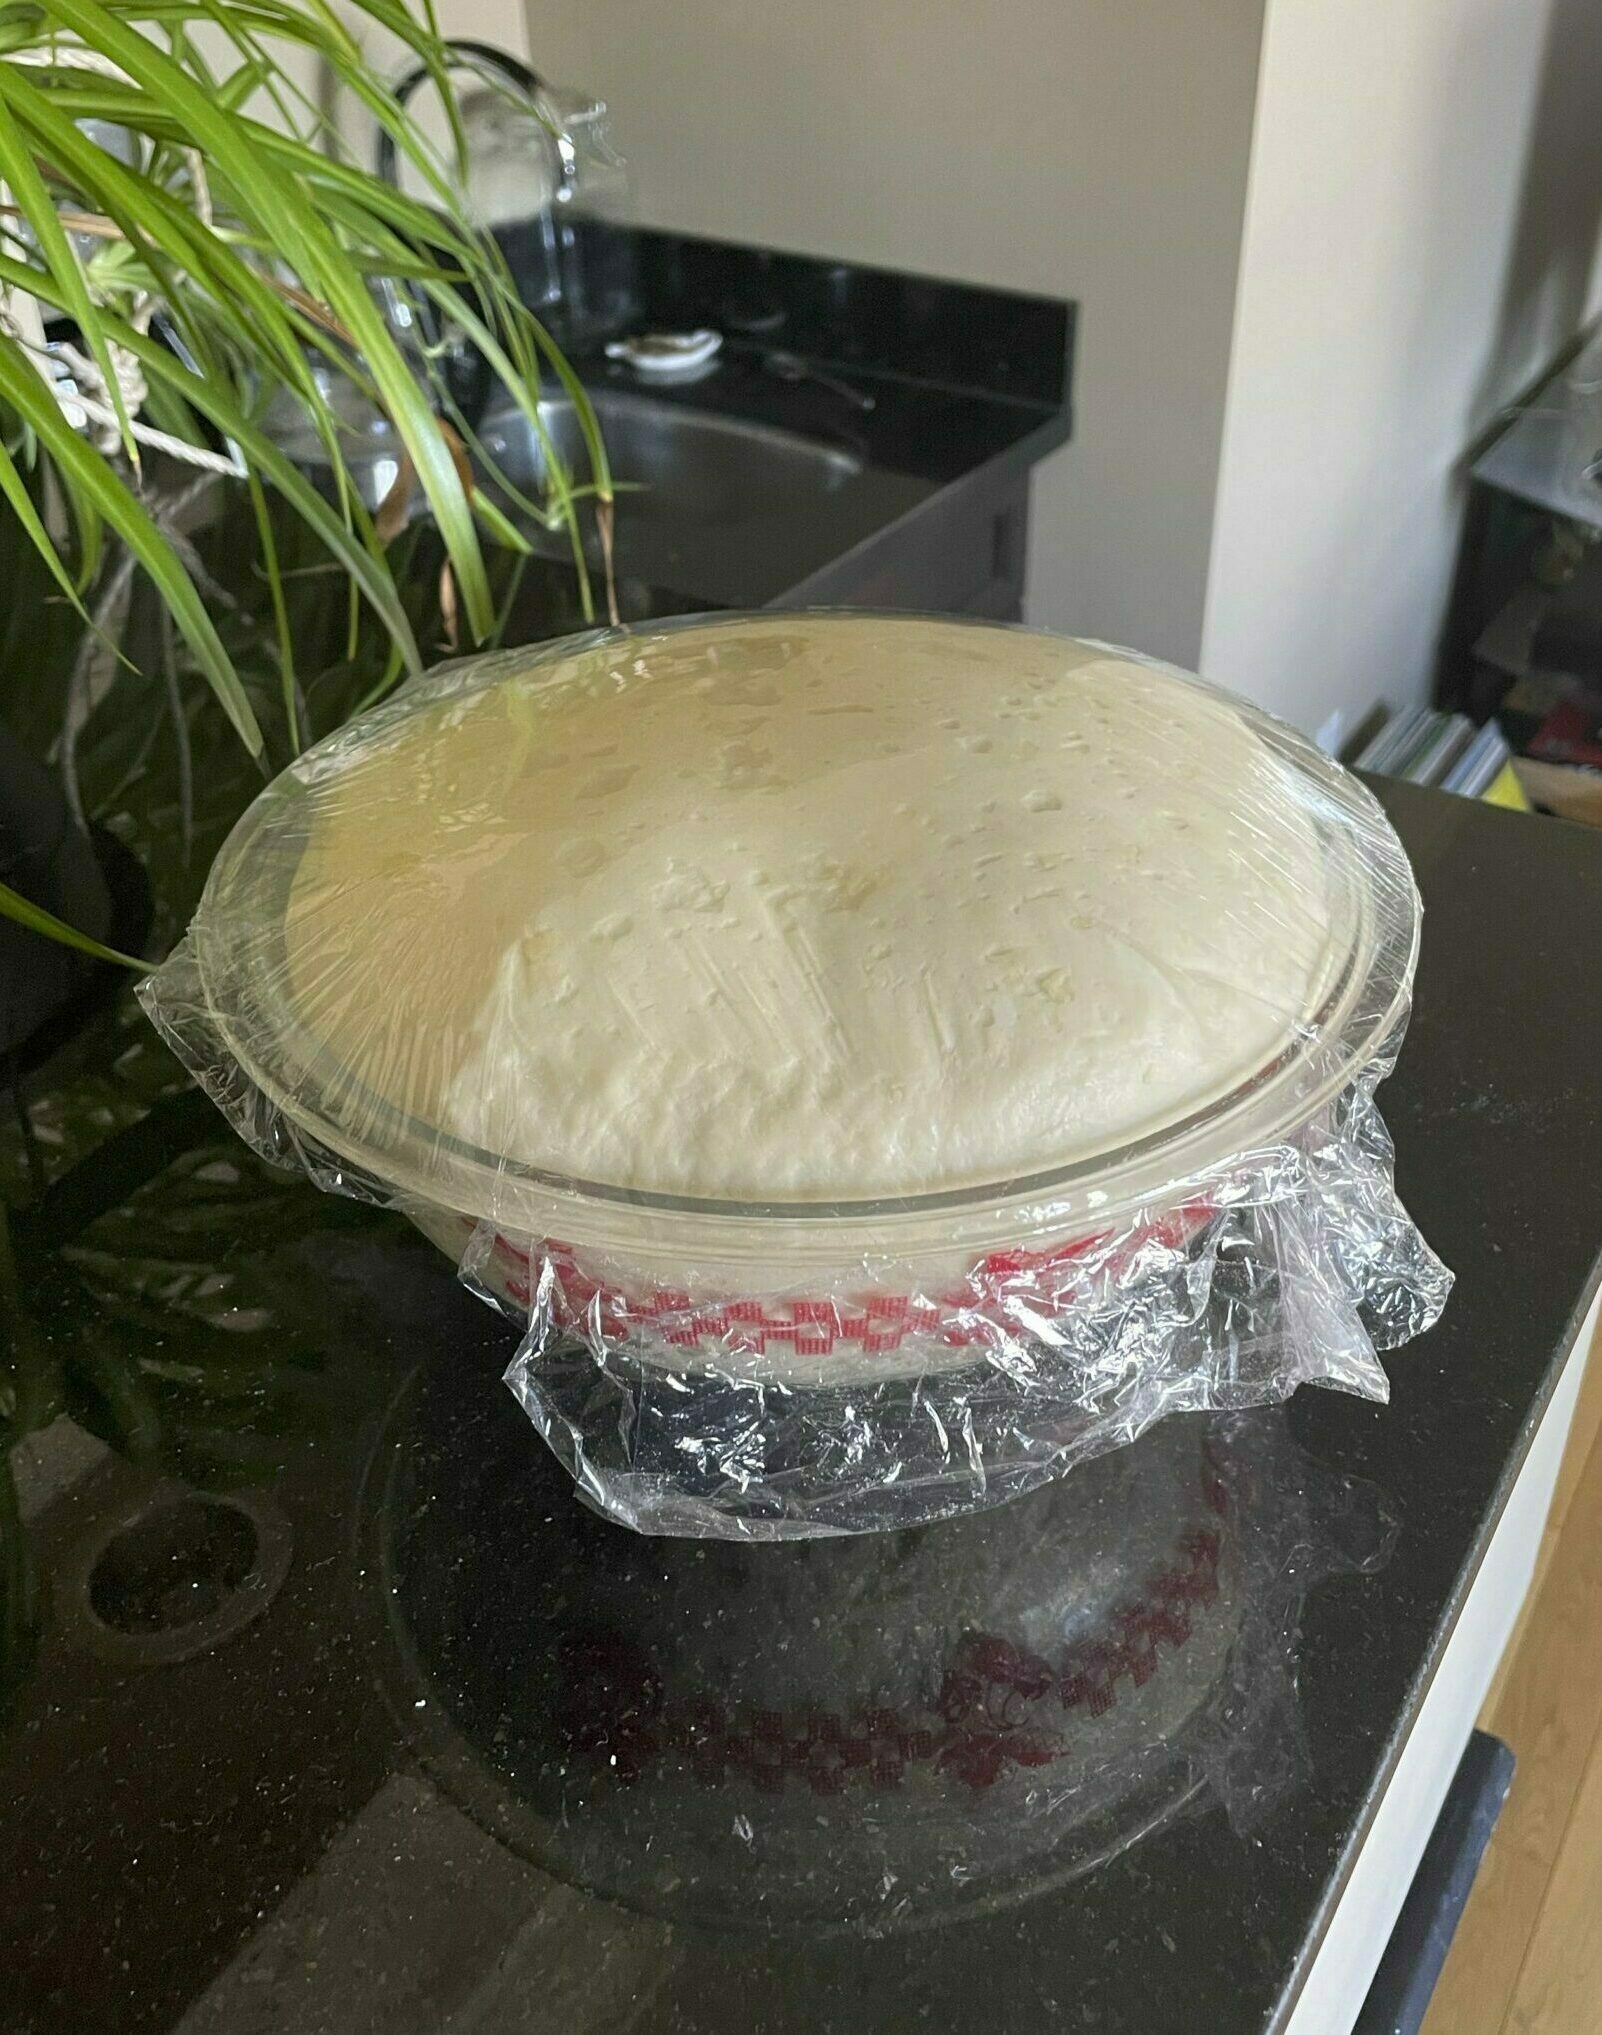
- If you leave your bread to rise for 5 hours it will probably triple in size, but it looks insane.
- Your roommates will kiss your feet for how good the house smells, and then kiss your feet once more when you offer them a slice.
That’s all I’ve got for today folks! I hope this bread update inspires you to go make some beautiful bread babies for yourself. As for next week, I think I want to try making this cinnamon raisin loaf recipe. Stay tuned to see how it turns out!